Removal Procedure
Important: Use care when handling the mass air flow (MAF)/ intake air temperature (IAT) sensor. Do not dent, puncture, or otherwise damage the honeycell located at the air inlet end of the MAF/IAT. Do not touch the sensing elements or allow anything including cleaning solvents and lubricants to come in contact with them. Use a small amount of a non-silicone based lubricant, on the air duct only, to aid in installation.
- Remove the air cleaner outlet duct. Refer to Air Cleaner Resonator Outlet Duct Replacement .
- Pull out the gray connector position assurance (CPA) retainer.
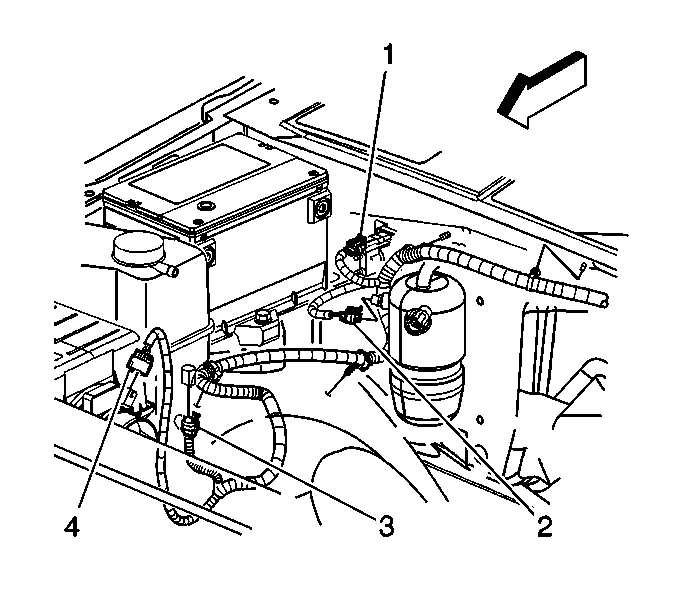
- Push down on the black clip in order to disconnect the MAF/IAT sensor electrical connector (4).
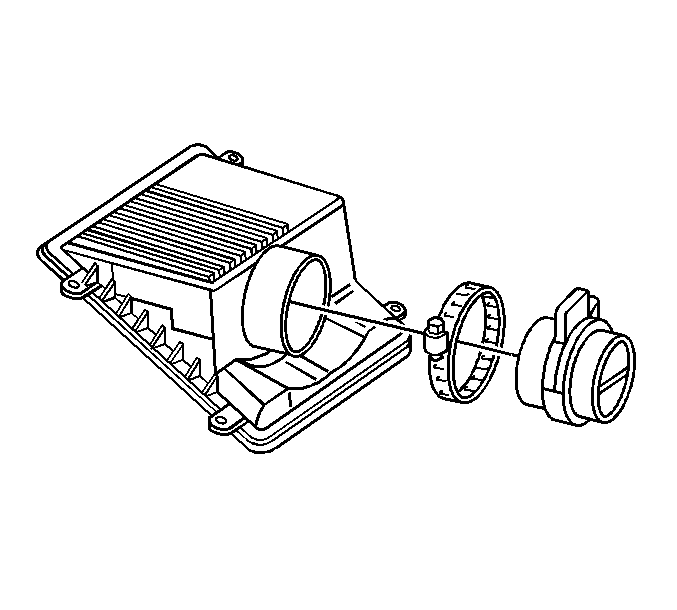
- Loosen the MAF/IAT clamp.
- Remove the MAF/IAT sensor from the air cleaner assembly.


Installation Procedure
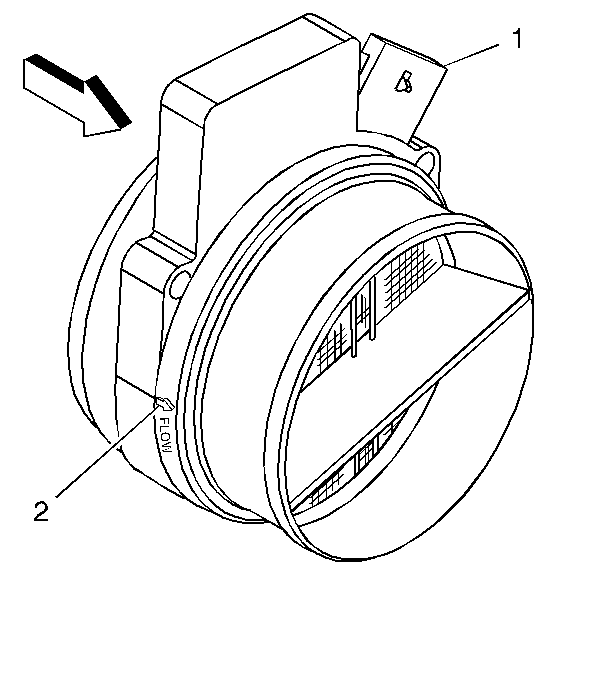
Important:: The embossed arrow on the MAF/IAT sensor indicates the proper air flow direction. The arrow must point toward the engine.
- Locate the air flow direction arrow (2) on the MAF/IAT sensor.
- Install the MAF/IAT sensor to the air cleaner assembly.
- Tighten the MAF/IAT clamp.
- Connect the MAF/IAT sensor electrical connector (4).
- Push in the gray CPA retainer.
- Install the air cleaner outlet duct. Refer to Air Cleaner Resonator Outlet Duct Replacement .


Notice: Use the correct fastener in the correct location. Replacement fasteners must be the correct part number for that application. Fasteners requiring replacement or fasteners requiring the use of thread locking compound or sealant are identified in the service procedure. Do not use paints, lubricants, or corrosion inhibitors on fasteners or fastener joint surfaces unless specified. These coatings affect fastener torque and joint clamping force and may damage the fastener. Use the correct tightening sequence and specifications when installing fasteners in order to avoid damage to parts and systems.
Tighten
Tighten the clamp to 7 N·m (62 lb in).
