60/40 Split Bench Seat Second Row
If your vehicle has a 60/40 split bench, the seats can be flipped and folded for additional cargo space.
Flip and Fold Feature
To flip and fold the seat, do the following:
- Make sure that there is nothing under or in front of the seat.
- Make sure that the headrests are completely lowered or removed.
- Regular models: Push the seatback forward until it is flat.
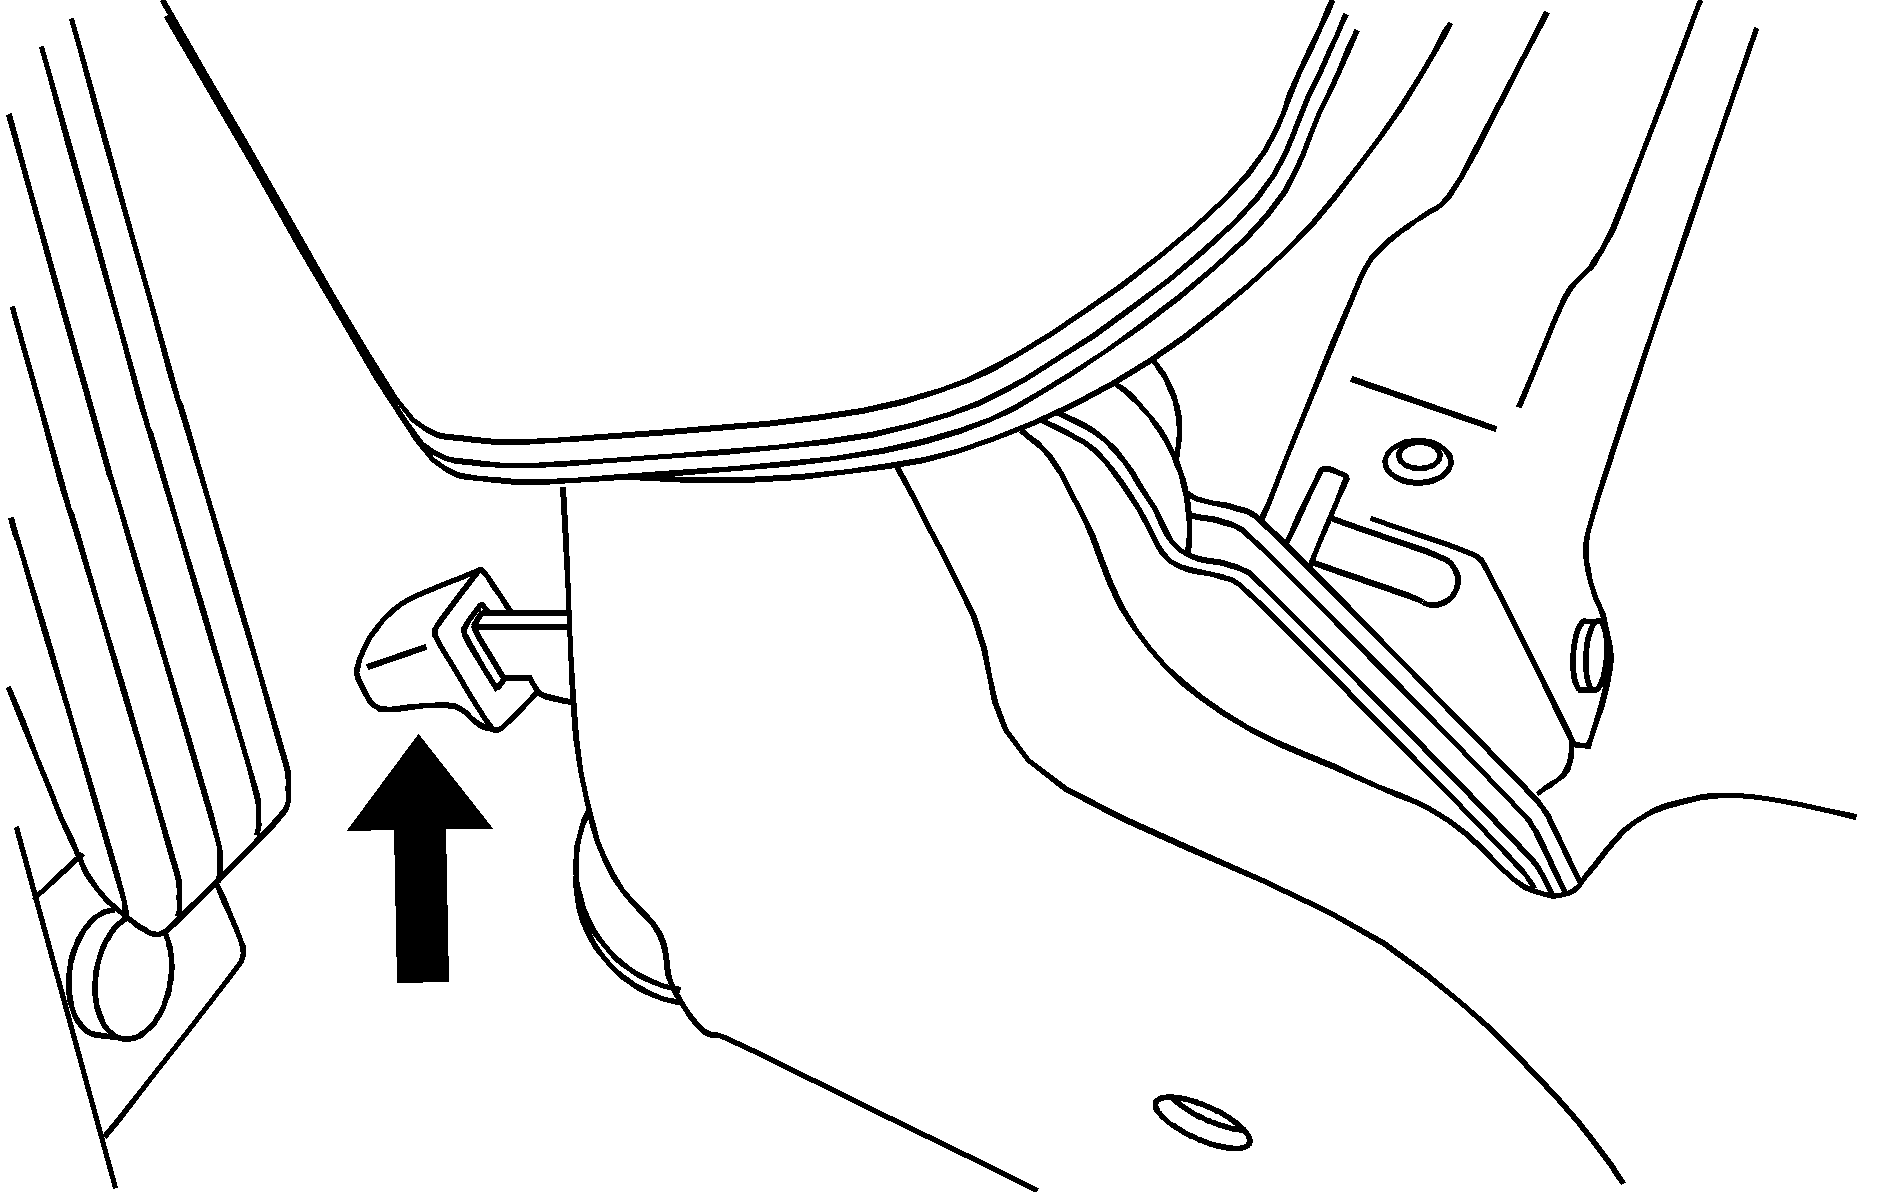
- Extended models: On the passenger side, lift the lever at the base of the seat to release the seatback. Push the seatback forward until it is flat.
On regular models, the rear seatbacks may be equipped with rearward folding headrests. When the seatback is being folded forward, the head rest will automatically fold rearward.
On extended models, the headrests need to be removed and stored. To do this, push the button at the base of the head rest, and pull the head rest out from the seatback. Slide the head rest pins into the holes on the top of the seat cushion.

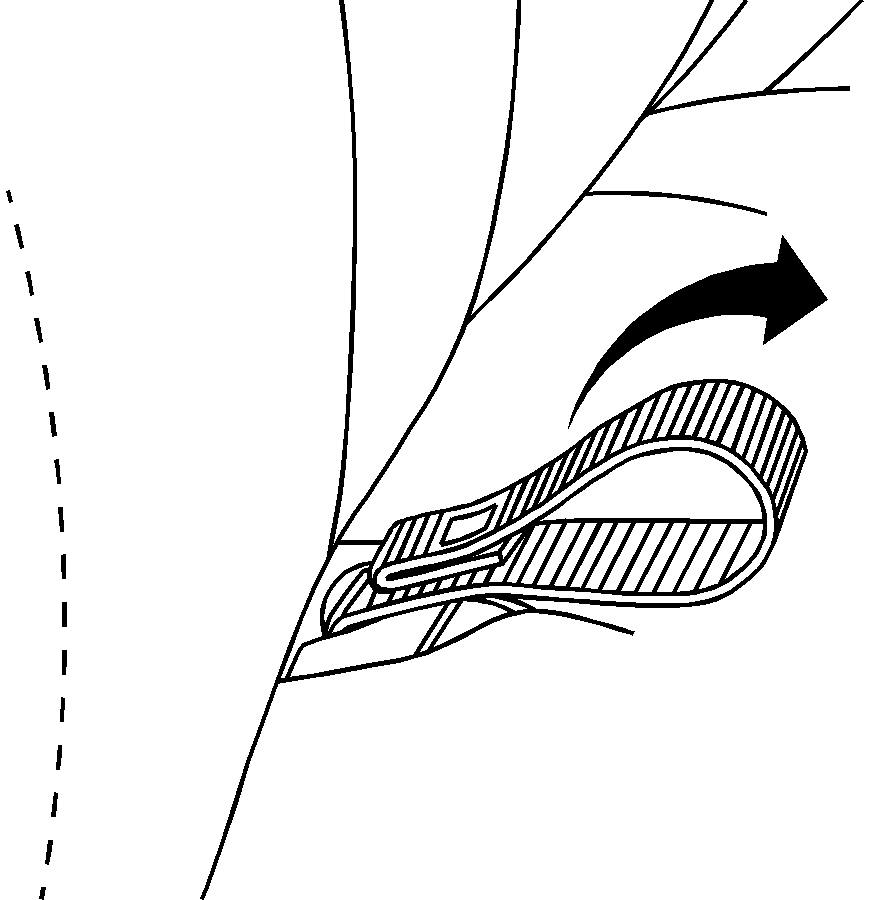
Pull up on the strap loop located at the rear of the seat cushion and flip the seat cushion forward.

If the seatback cannot fold flat because it interferes with the cushion, try moving the front seat forward and/or bring the front seatback more upright.
Once the seatbacks are folded forward, on extended models only, the rear seat footwell area will be exposed and will have to be covered by the load floor panels. To create a load floor, do the following:
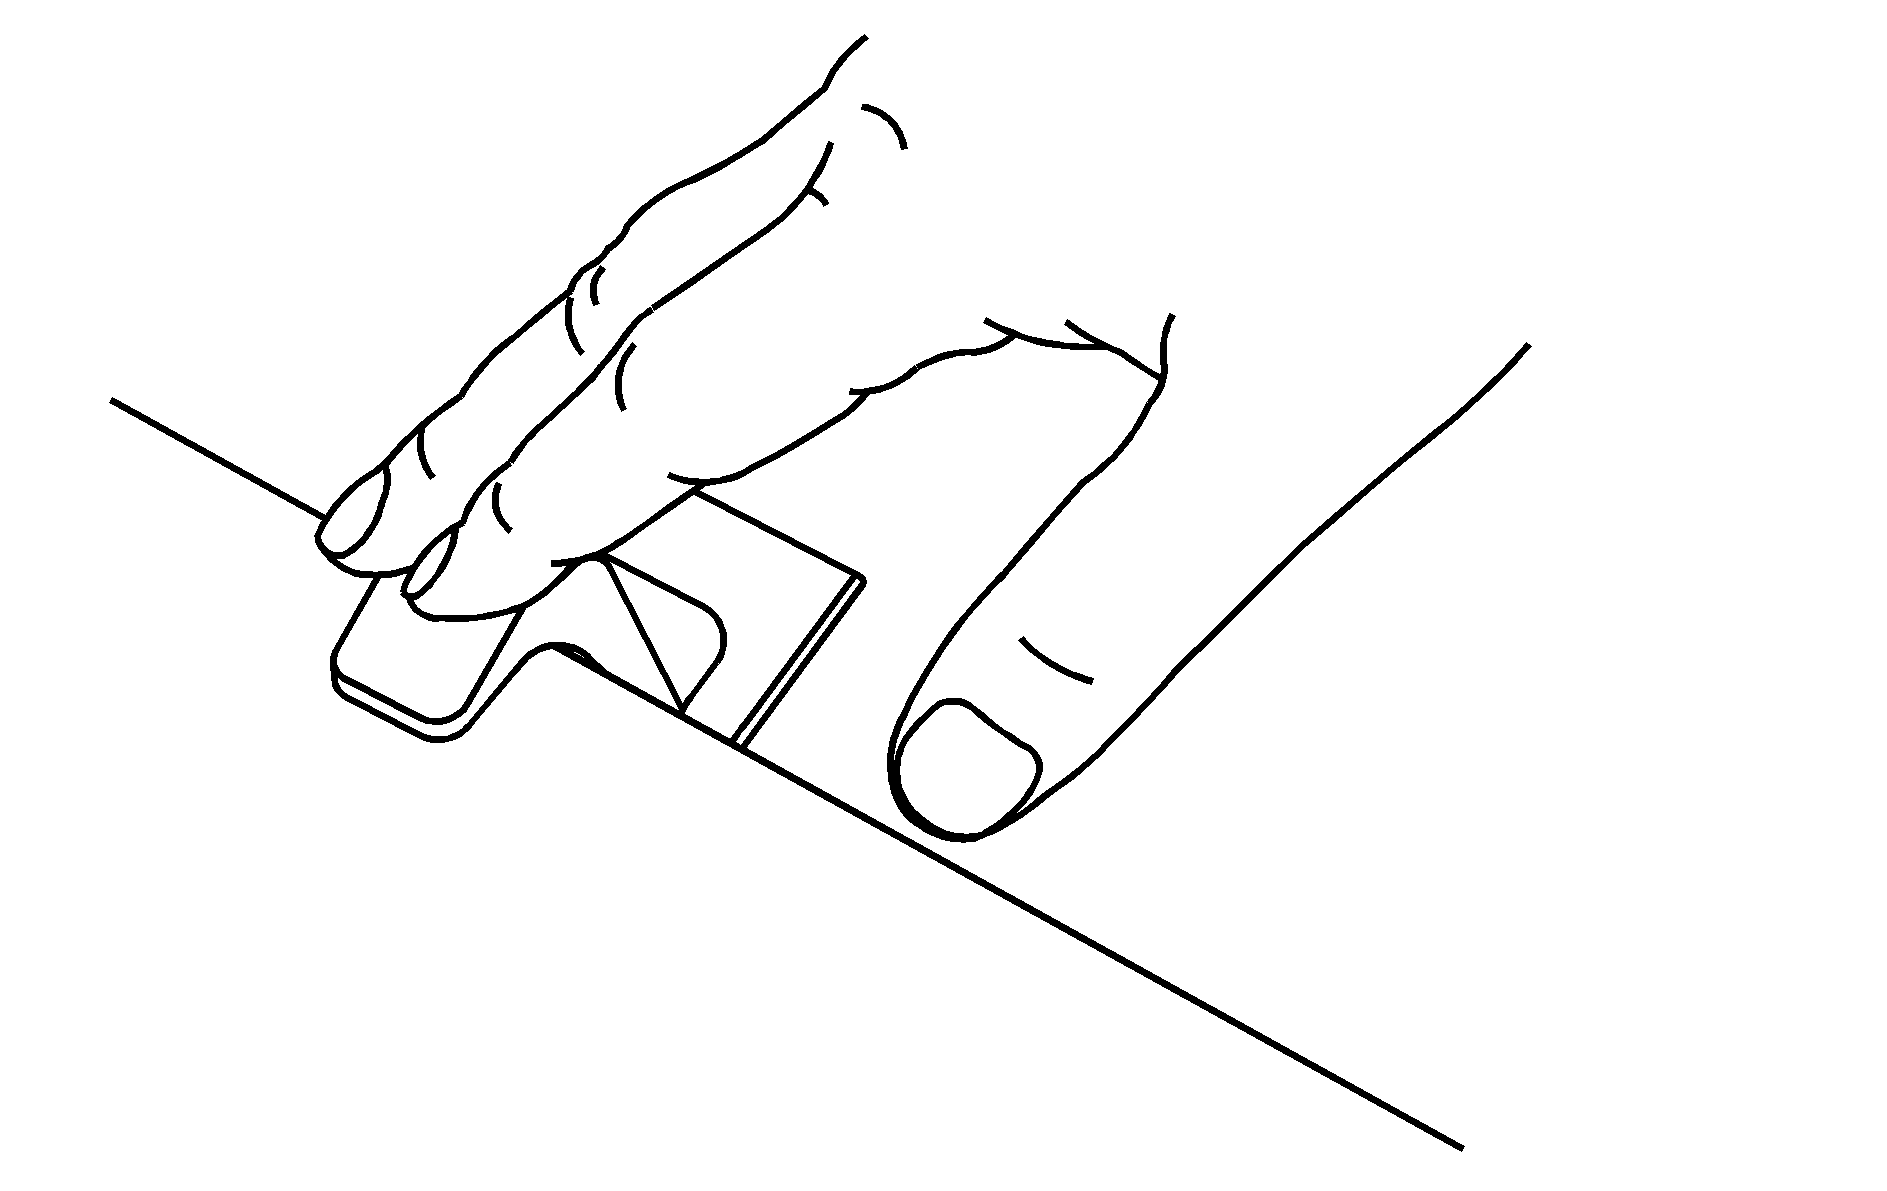
- Release the panels from the seatbacks by pushing forward on the latches.
- Fold the panels back to cover the rear seat footwell area.

Returning the Seats to the Normal Seating Position
To return the seat to the normal seating position, do the following:
- On extended models, lift the load floor panels and latch them into the seatback.
- Lift the seatback up and push it rearward all the way. Push and pull on the seatback to make sure it is locked in place.
- On regular models, return the headrests to the upright position.
- Lower the seat cushion until it latches into position. Pull up on the seat cushion to make sure it is locked.
- Make sure that the safety belt buckles on the driver's side seat are accessible to the outboard and center occupants and are not under the seat cushions.
Caution: If either seatback is not locked, it could move forward in a sudden stop or crash. That could cause injury to the person sitting there. Always push and pull on the seatbacks to be sure they are locked.
On extended models, return the headrests from the stored position to the seatback.
Caution: A safety belt that is improperly routed, not properly attached, or twisted will not provide the protection needed in a crash. The person wearing the belt could be seriously injured. After raising the rear seatback, always check to be sure that the safety belts are properly routed and attached, and are not twisted.