Instructions for Using GE-47716 Vac-N-Fill Coolant Refill Tool

| Subject: | Instructions for Using GE-47716 Vac-N-Fill Coolant Refill Tool |
| Models: | 2005 and Prior Passenger Cars and Light Duty Trucks |
| 2005 and Prior Chevrolet and GMC Medium Duty Trucks |
| 2003-2005 HUMMER H2 |
| 2005 and Prior Saturn Vehicles |
| 2005 and Prior Isuzu Medium Duty Trucks |
Using GE-47716 Vac-N-Fill Coolant Refill Tool
The advantage of the GE-47716 Vac-N-Fill tool is that is provides a complete cooling system fill while simultaneously purging air from the system. This can save time by eliminating the need to bleed the coolant system or thermocycle the engine when performing a coolant fill. The tool can be used on a full system, partially empty system, or a completely empty system. The tool can also be used to drain or partially drain coolant from some cooling system components using the extraction hose.
Caution: In order to avoid personal injury, do not remove the cap or open the cooling system drains from a hot system. Allow the system to cool first.
Important: To prevent boiling of the coolant/water mixture in the vehicle's cooling system, do not apply vacuum to a cooling system above 49°C (120°F). The tool will not operate properly when the coolant is boiling.
Before Using the Vac-N-Fill Coolant Refill Tool
| • | Install an airline nipple to the Venturi Assembly. |
| • | The minimum shop air pressure requirement is 90 psi (620 kPa). |
| • | The shop air should have an air dryer system. |
| • | The heater control should be set to the heat position. The ignition may need to be turned to the ON position with the engine off. |
Using Vac-N-Fill to Fill Cooling System
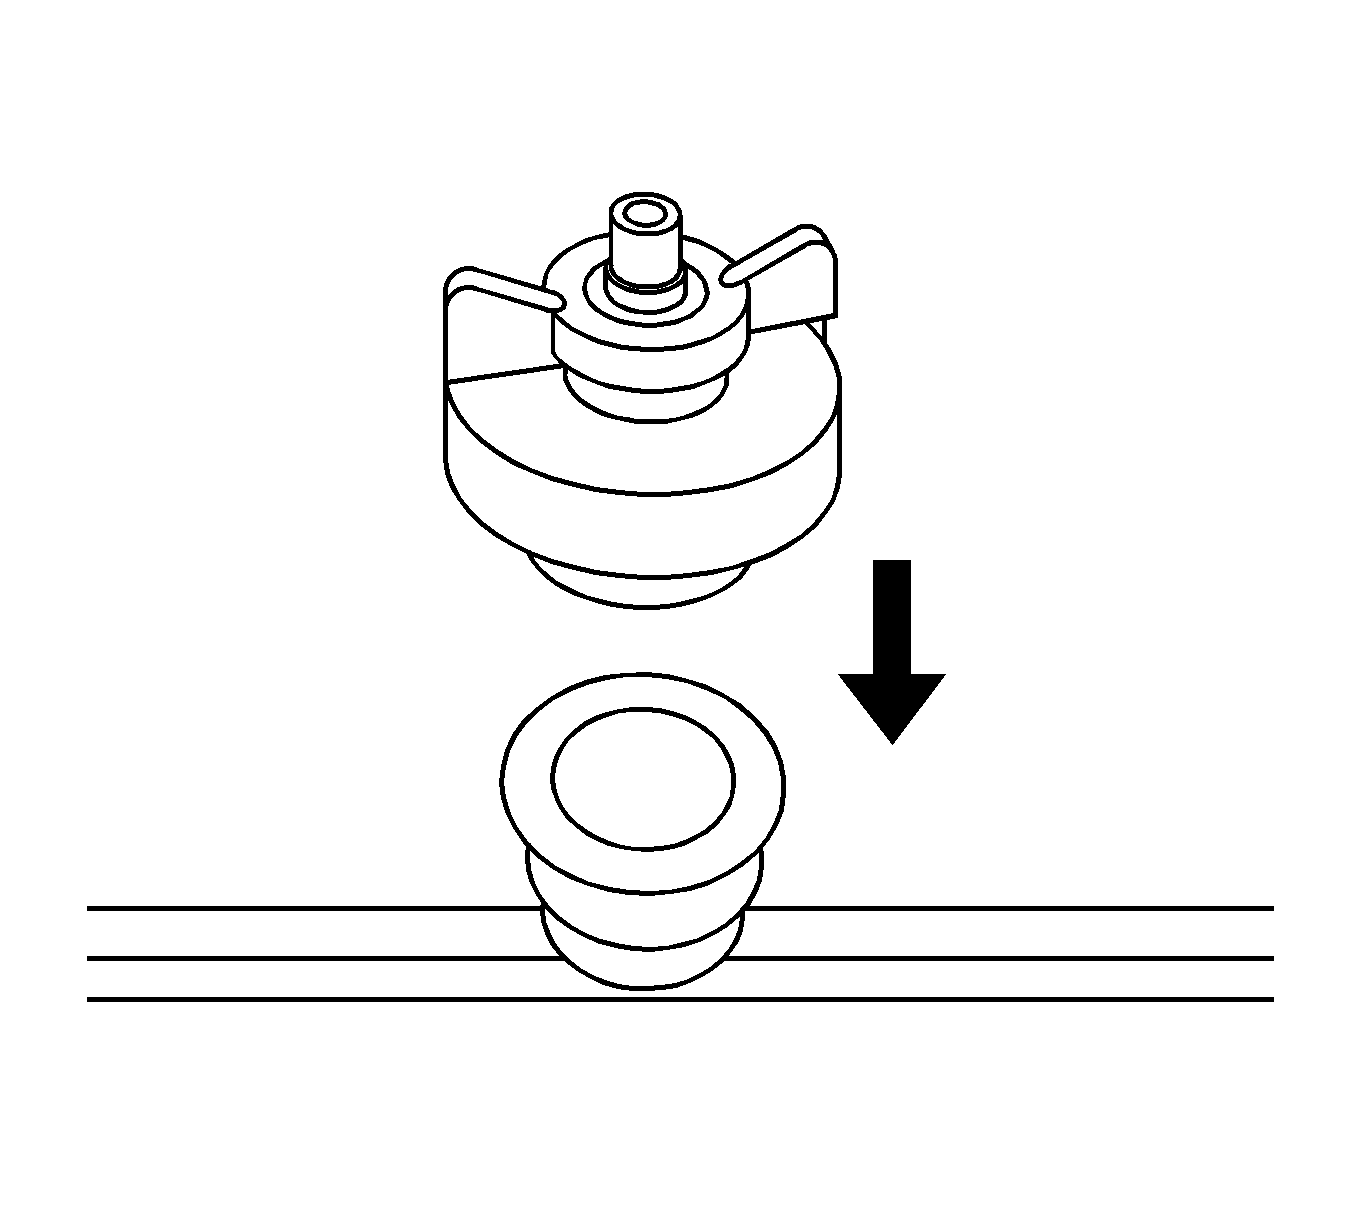
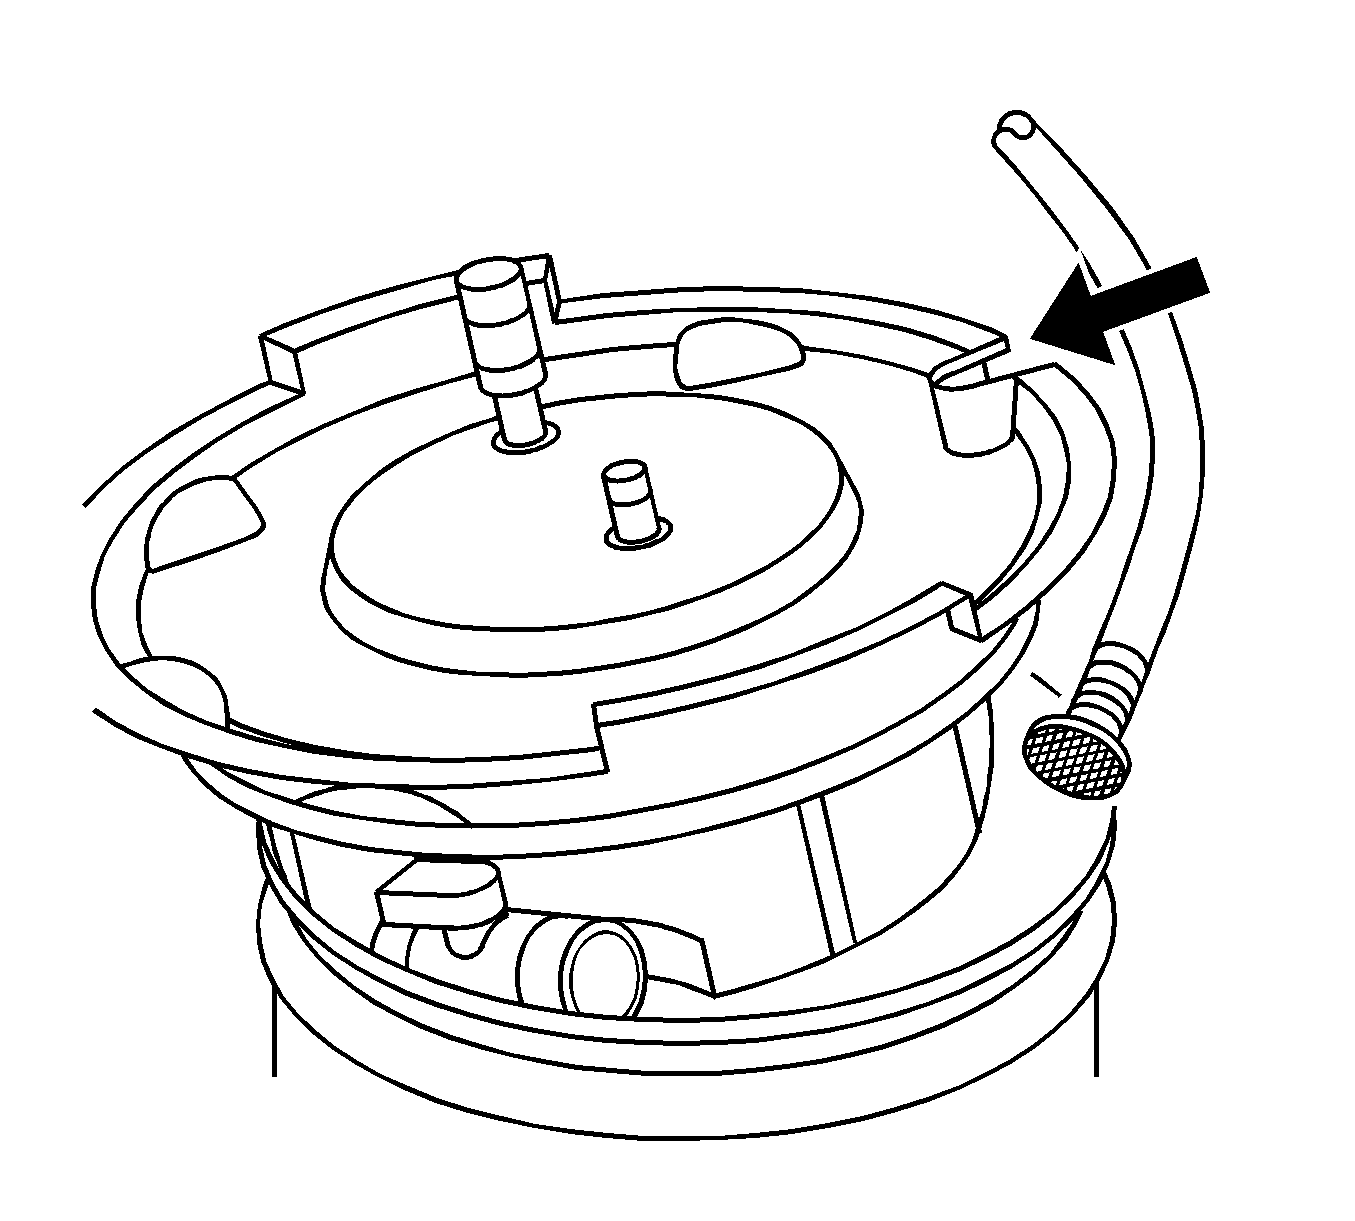
- Attach the Vac-N-Fill cap (GE-47716-8) to the vehicle's coolant fill port. Install the cap adapters where required.
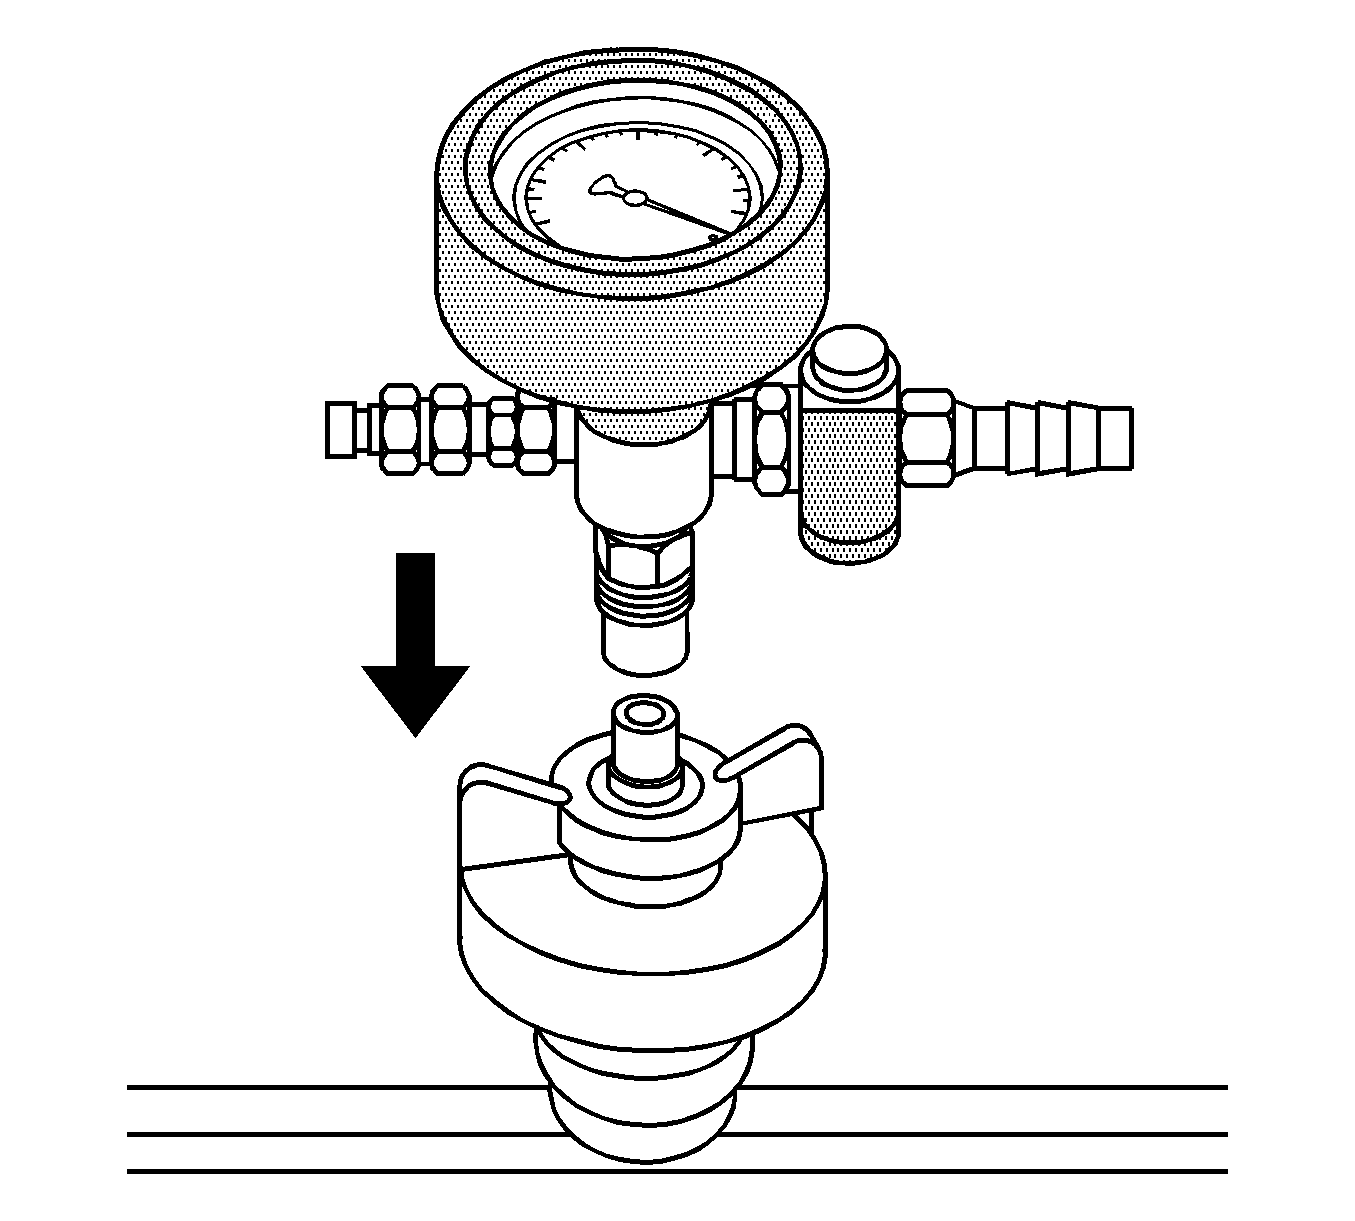
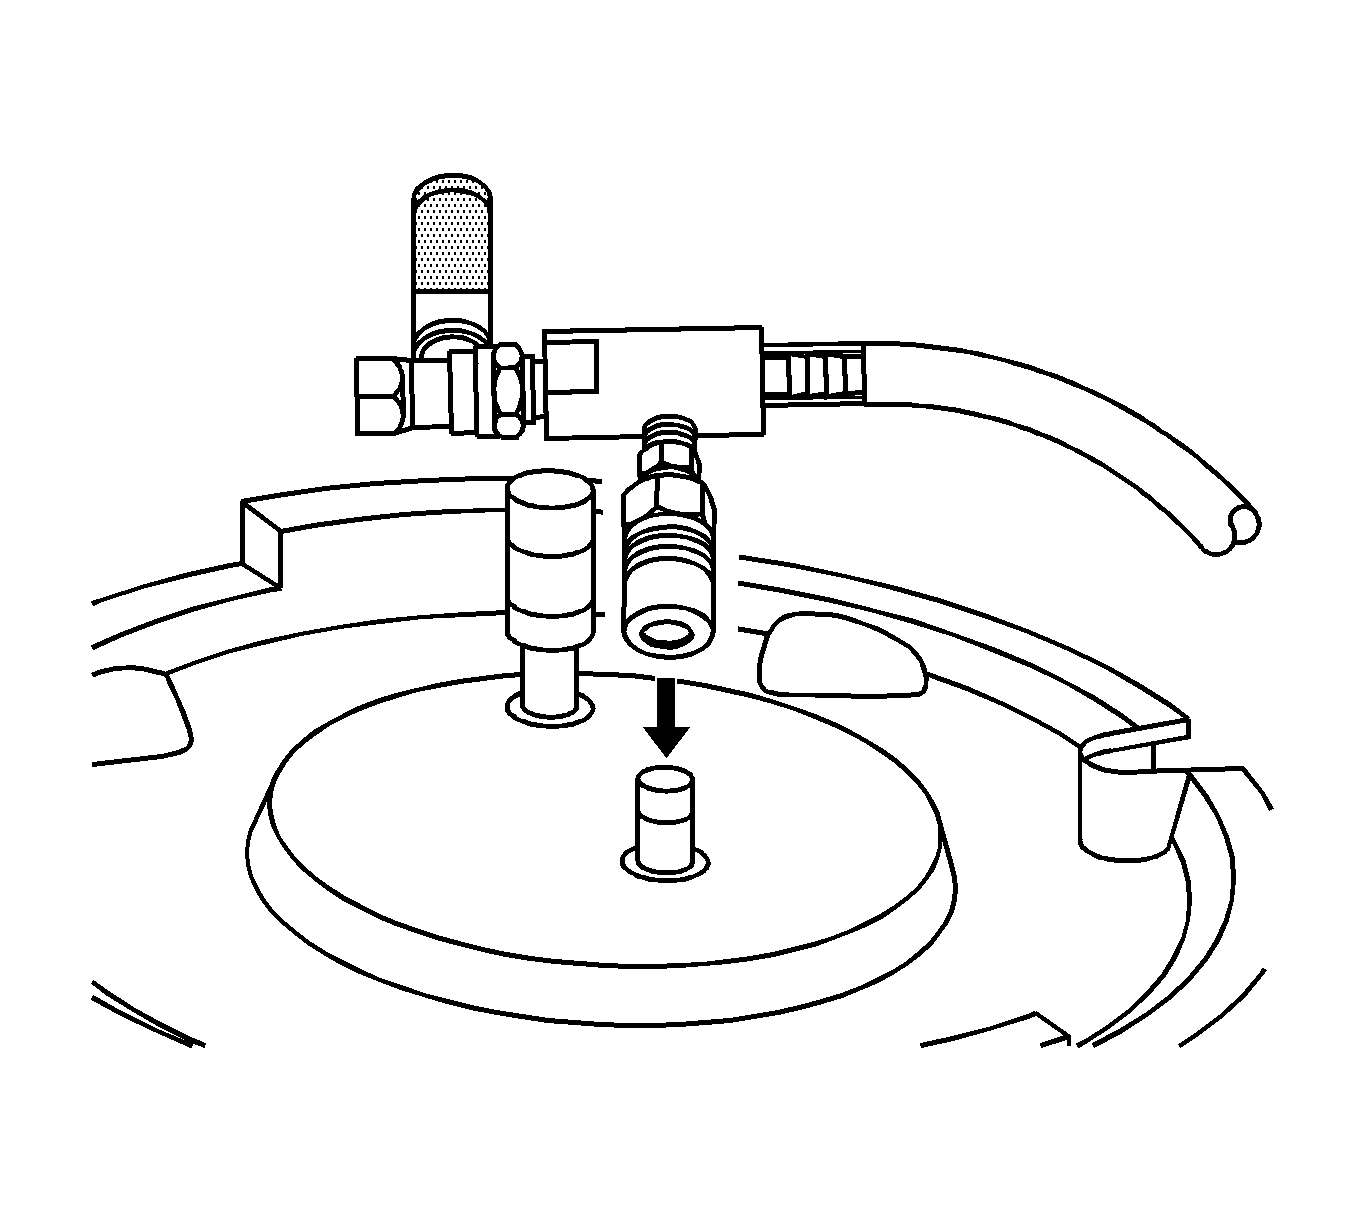
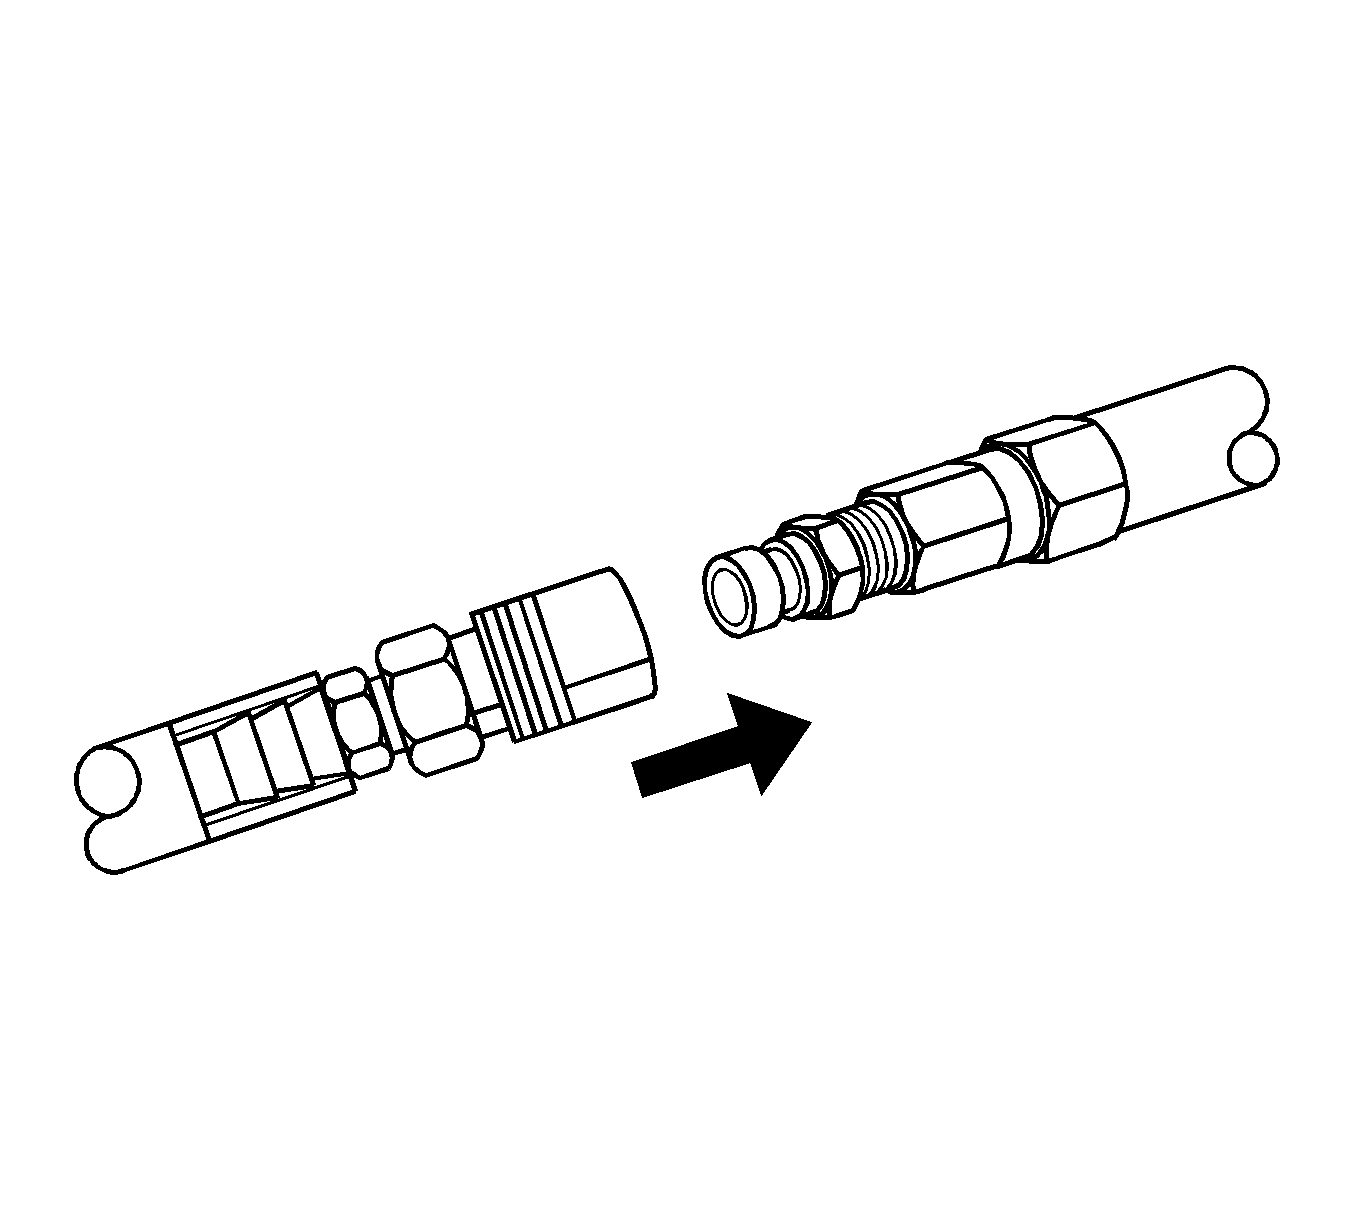
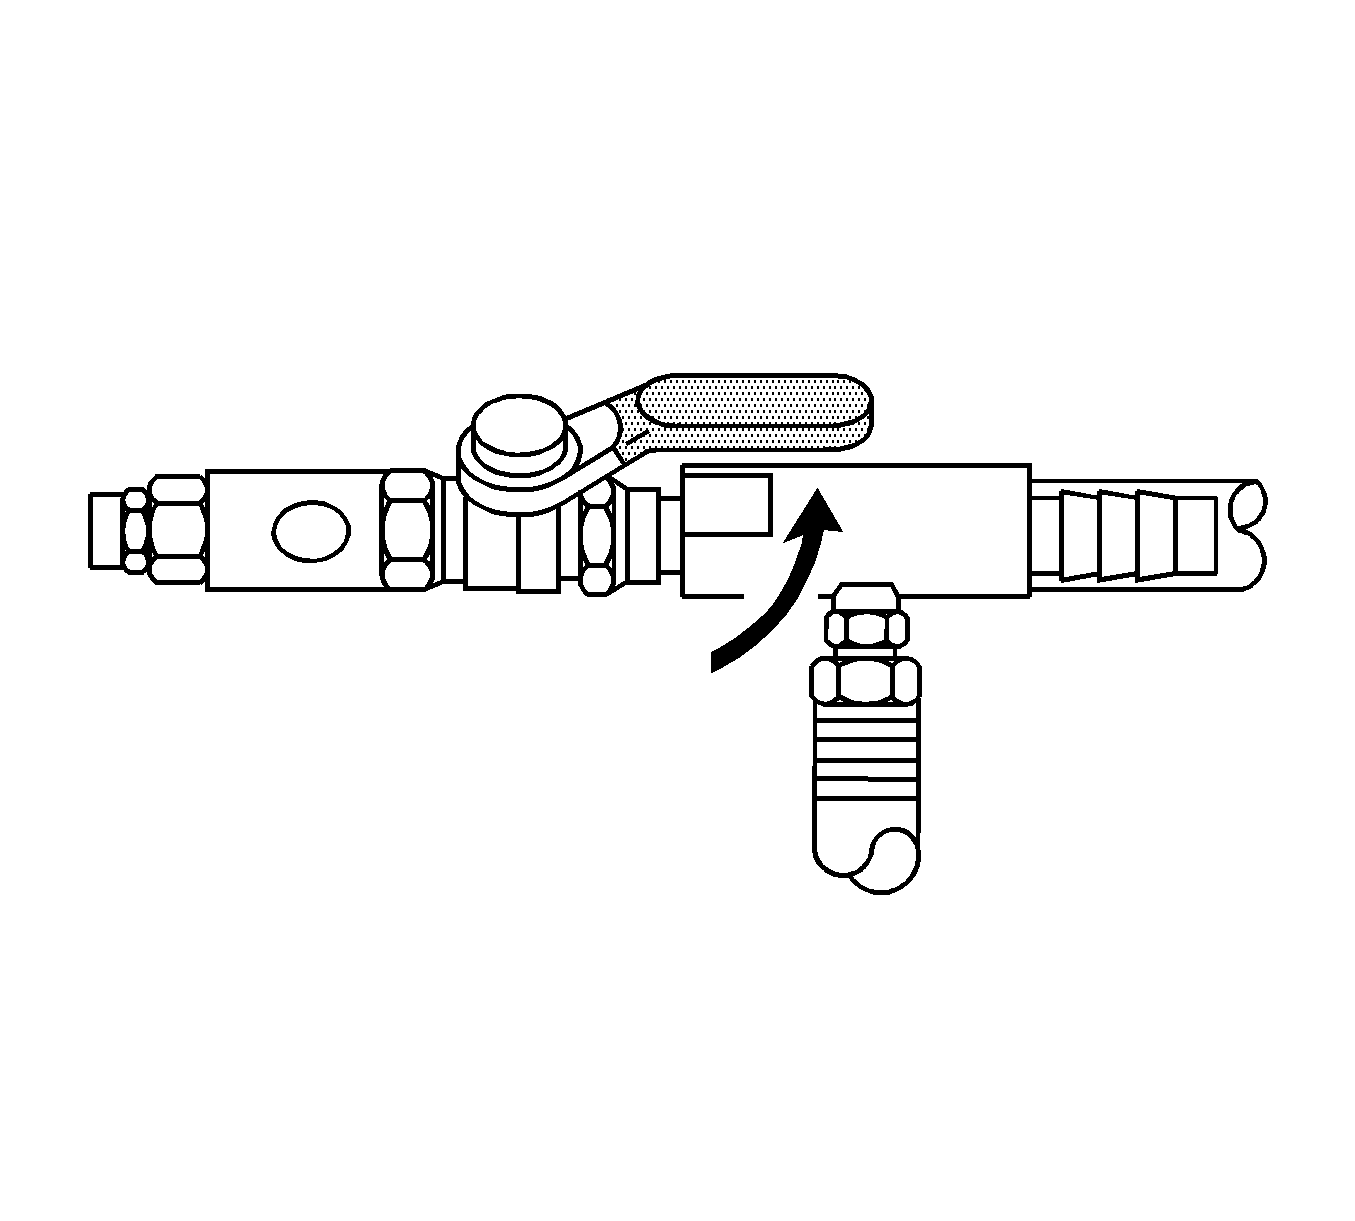
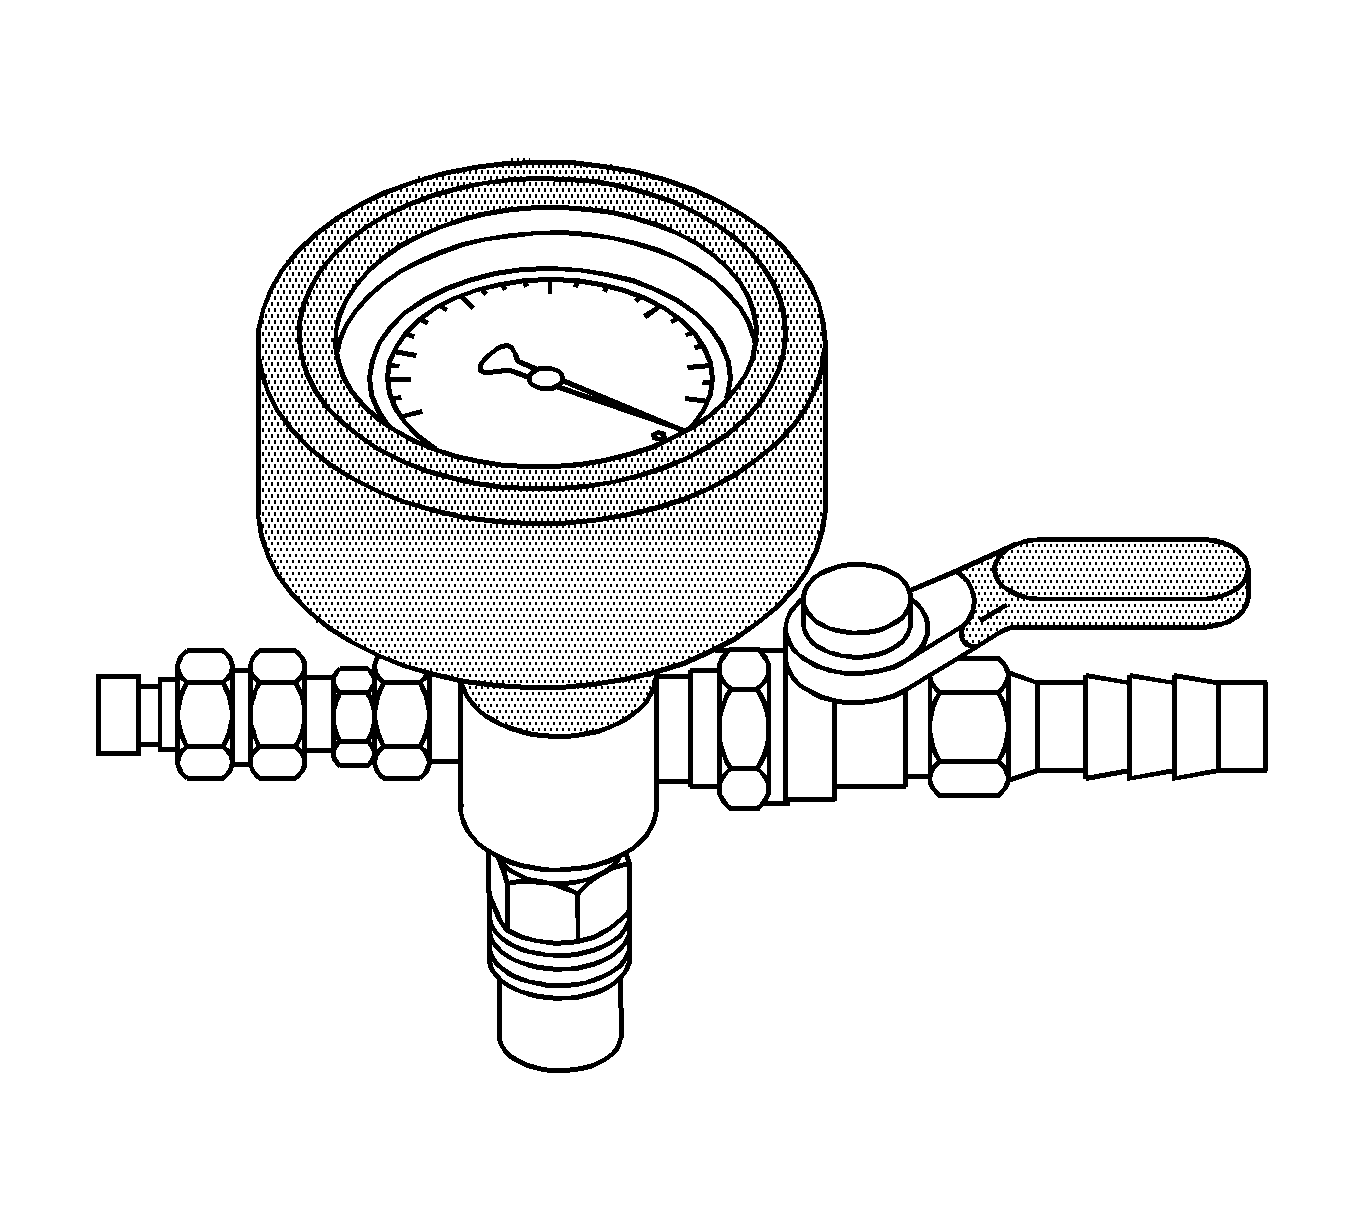
- Attach the vacuum gauge assembly with valve (GE-47716-3)to the Vac-N-Fill cap (GE-47716-8). For some applications you may need to use the extension hose.
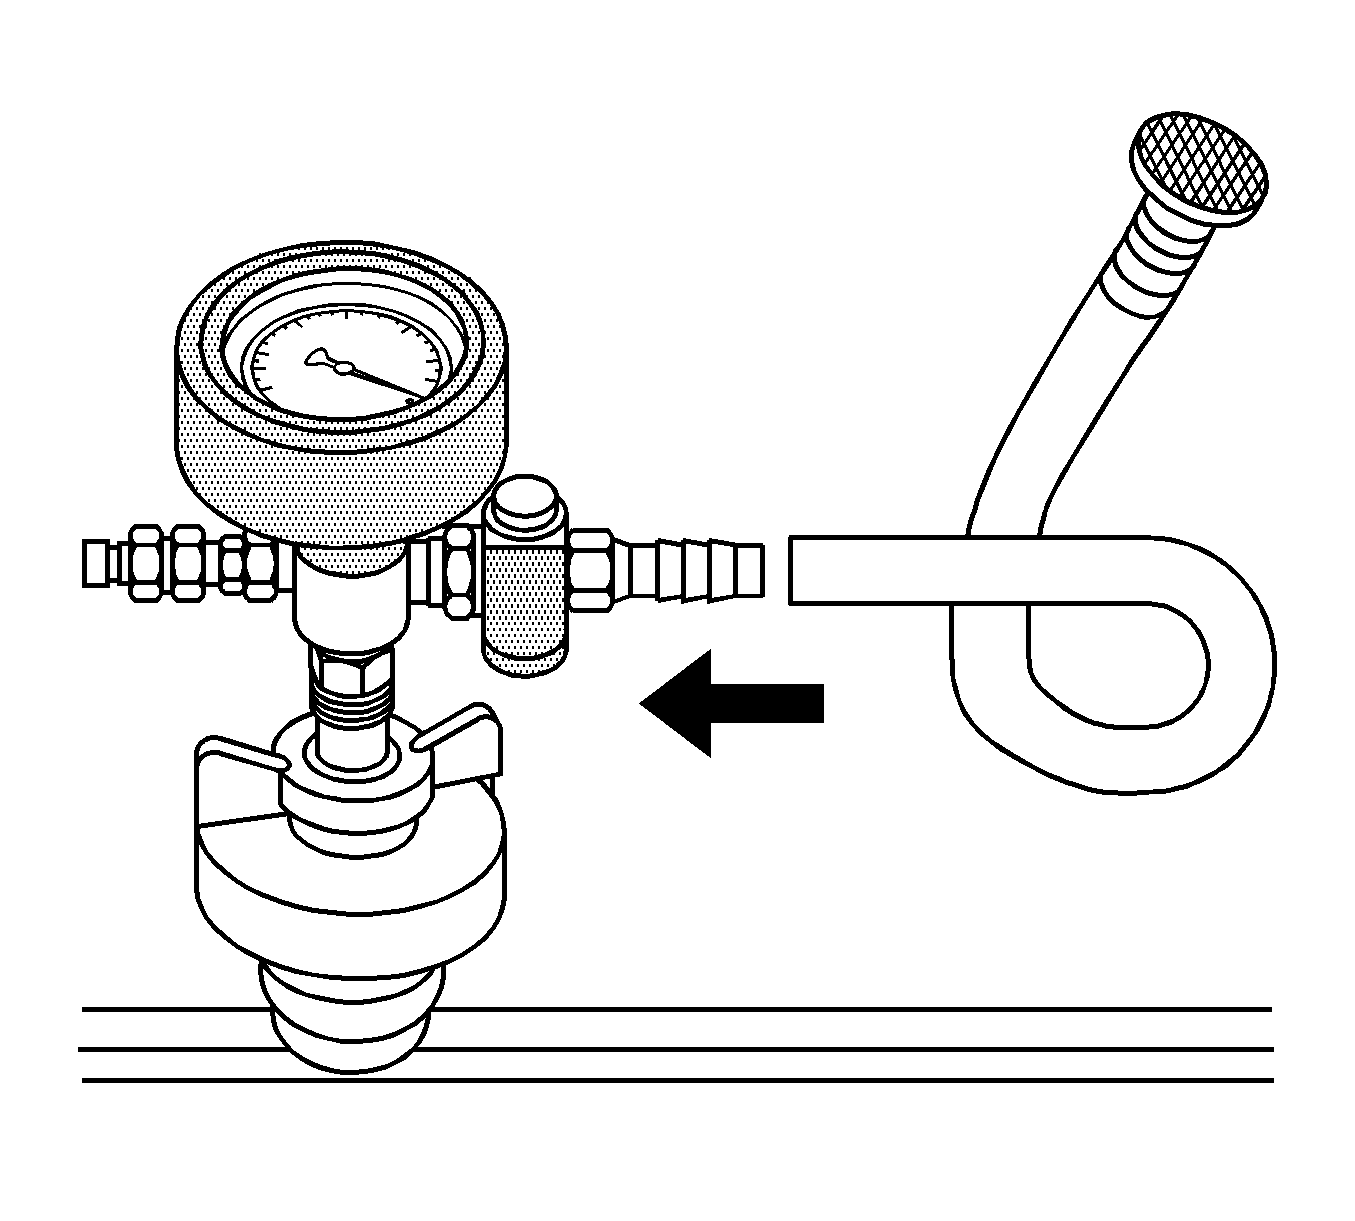
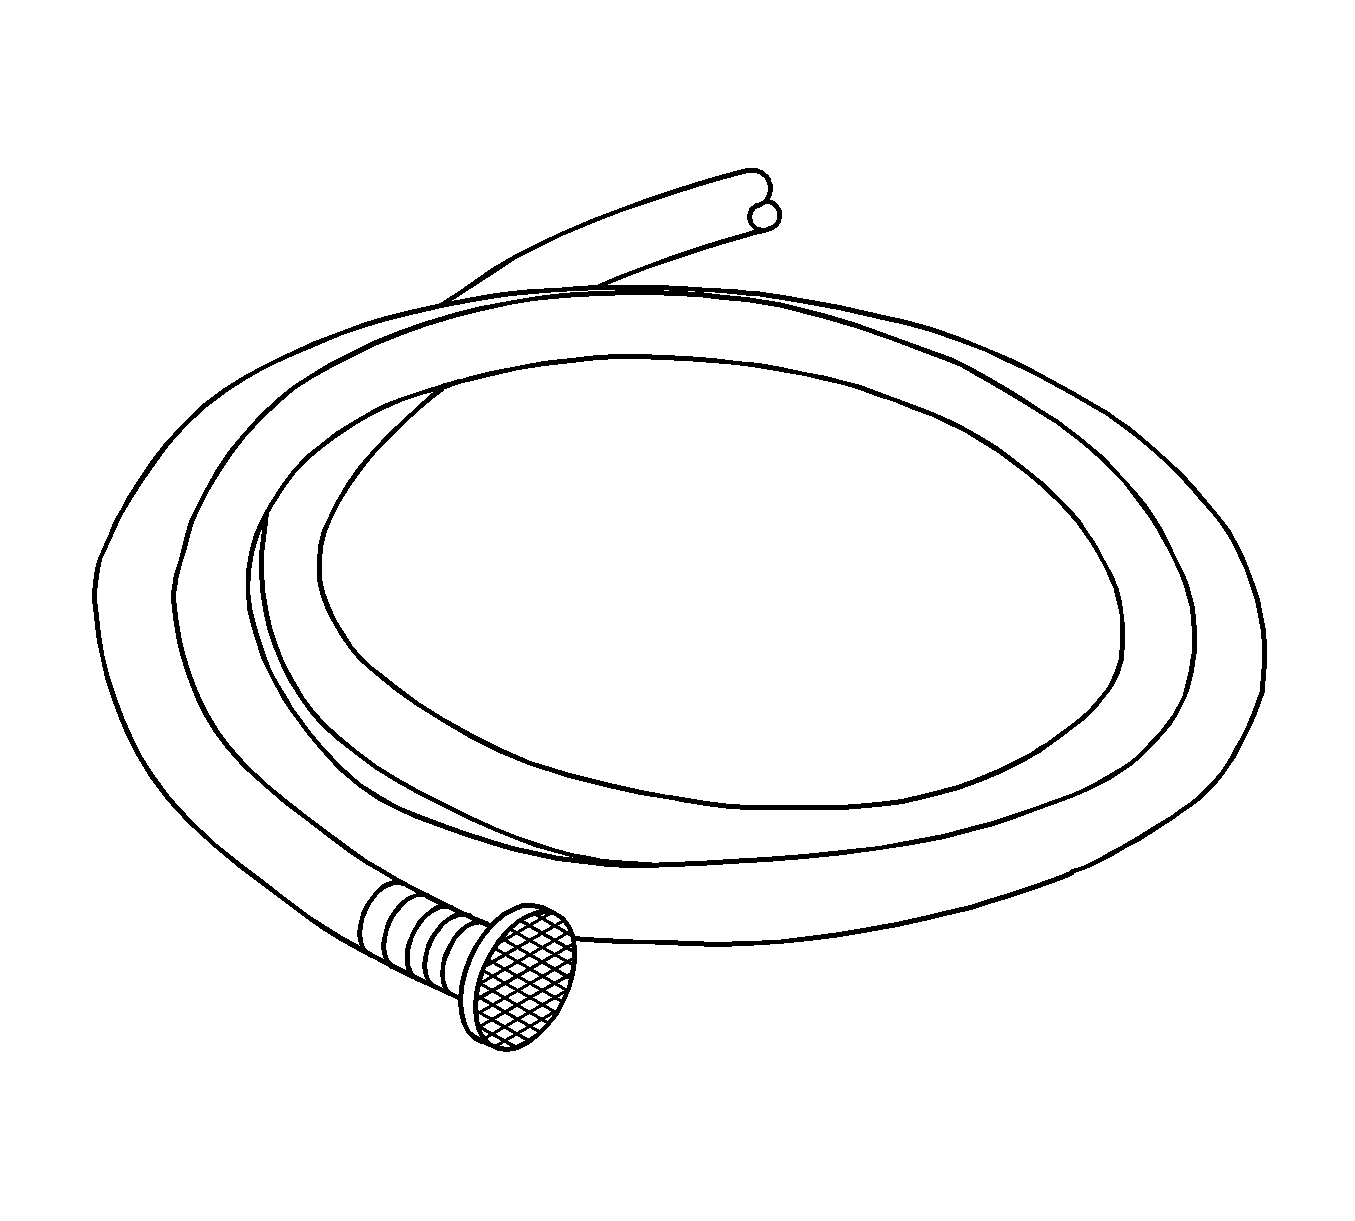
- Attach the fill hose (GE-47716-5) to the barb fitting on the vacuum gauge assembly with valve (GE-47716-3). Ensure that the vacuum gauge assembly valve is closed.
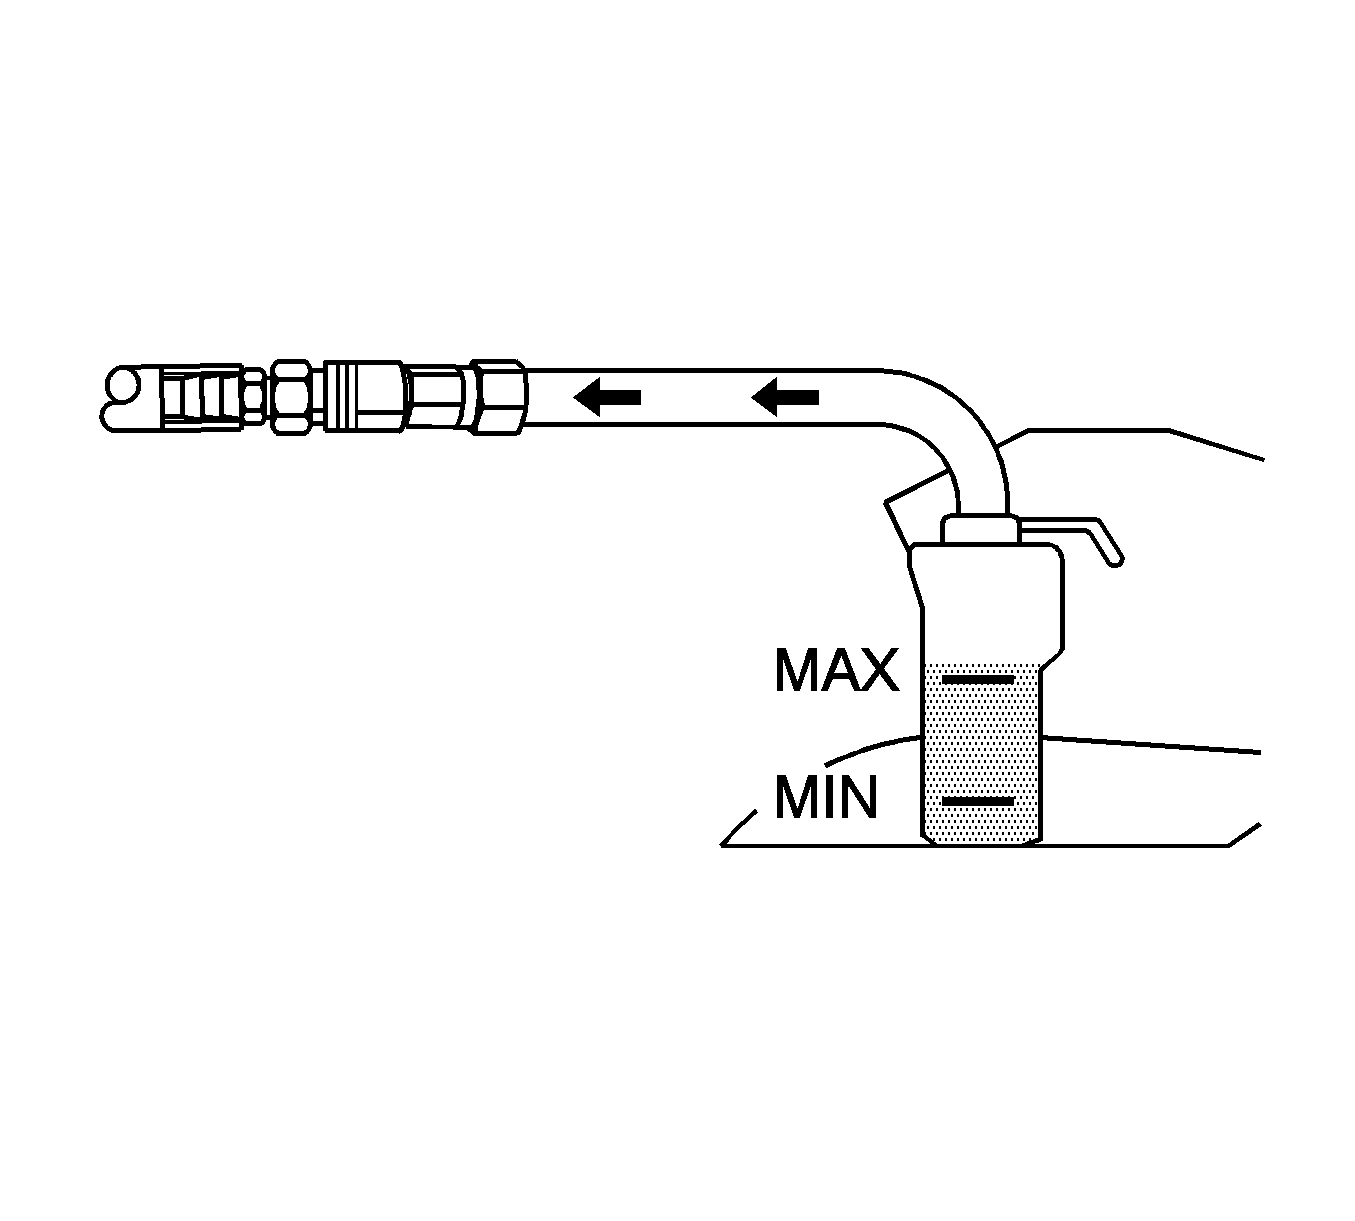
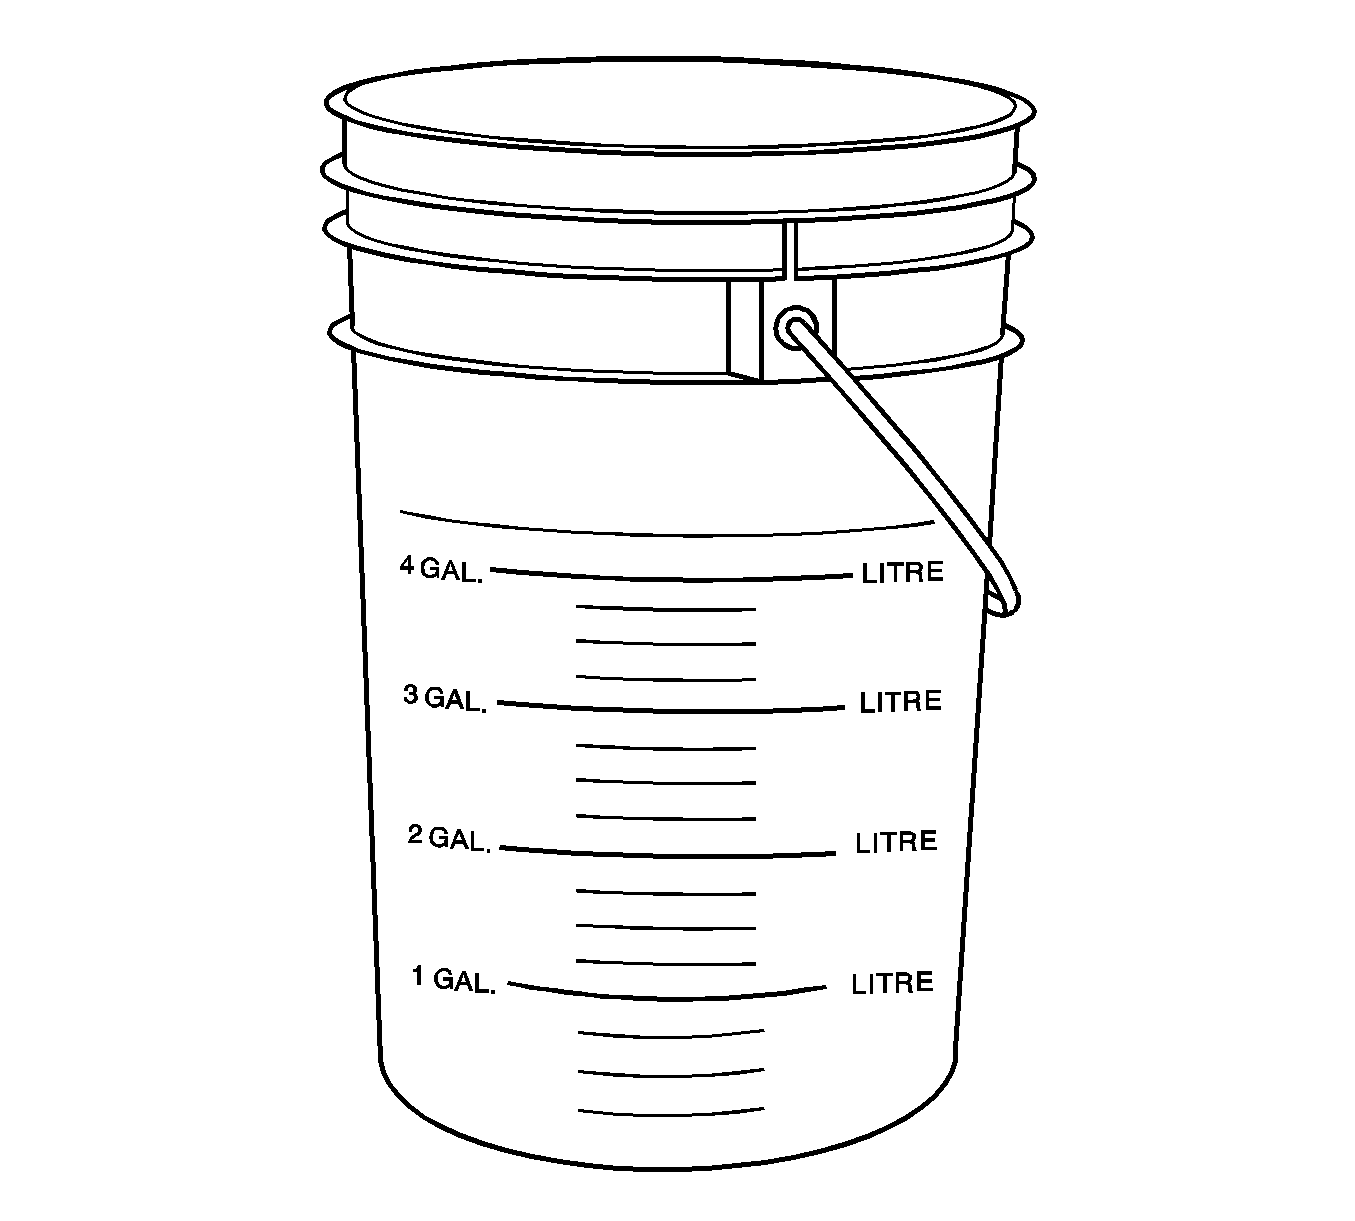
- Pour the coolant mixture into the graduated reservoir (GE-47716-2).
- Place the fill hose (GE-47716-5) in the graduated reservoir (GE-47716-2).
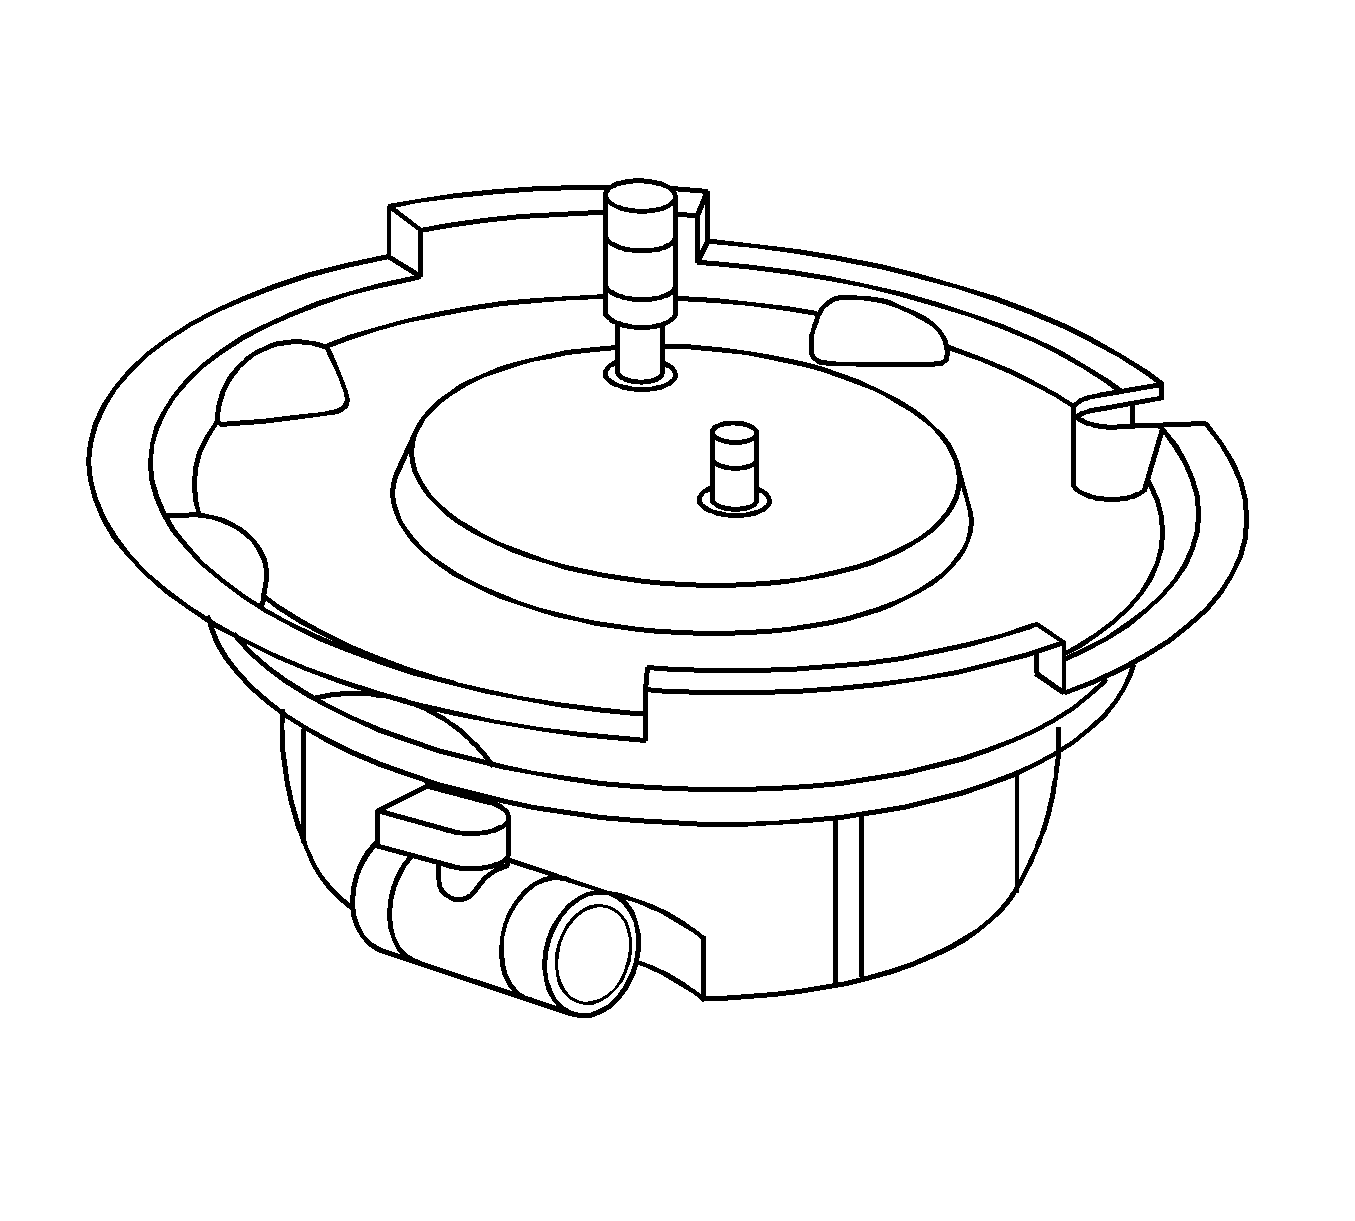
- Install the vacuum tank (GE-47716-1) on the graduated reservoir (GE-47716-2) with the fill hose routed through the cut out area in the vacuum tank (GE-47716-1).
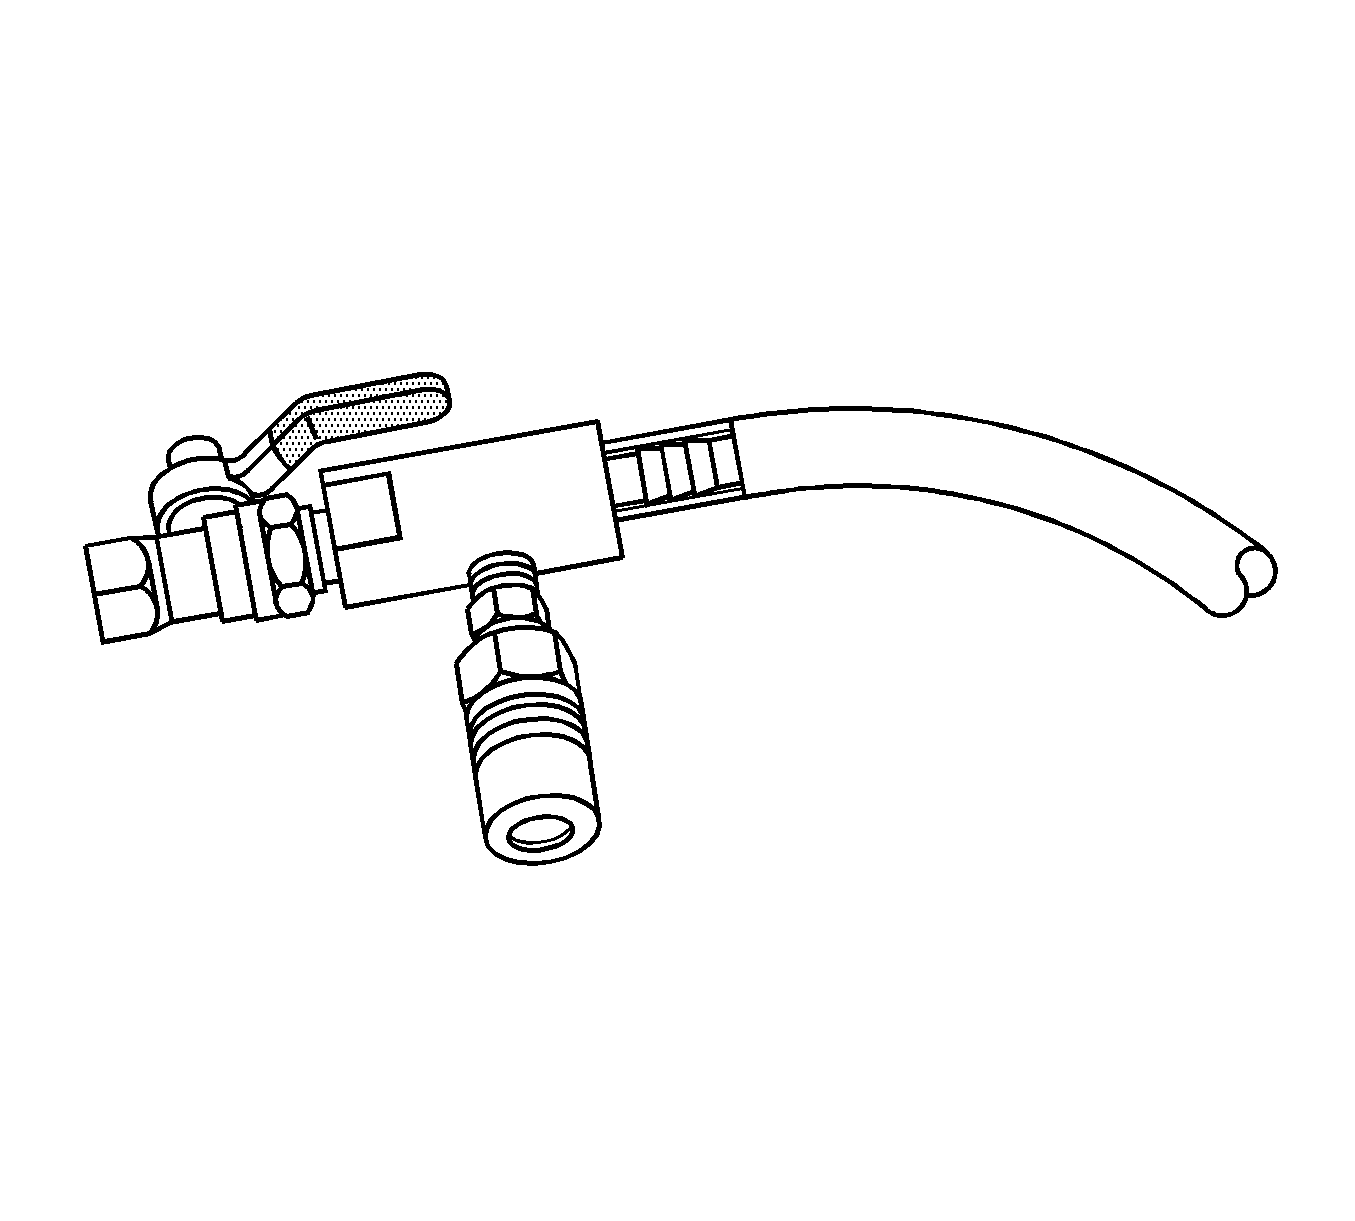
- Attach the Venturi assembly (GE-47716-6) to the vacuum tank (GE-47716-1).
- Attach a shop air hose to the Venturi assembly (GE-4776-6). Ensure the valve to the Venturi assembly is closed (GE-47716-6).
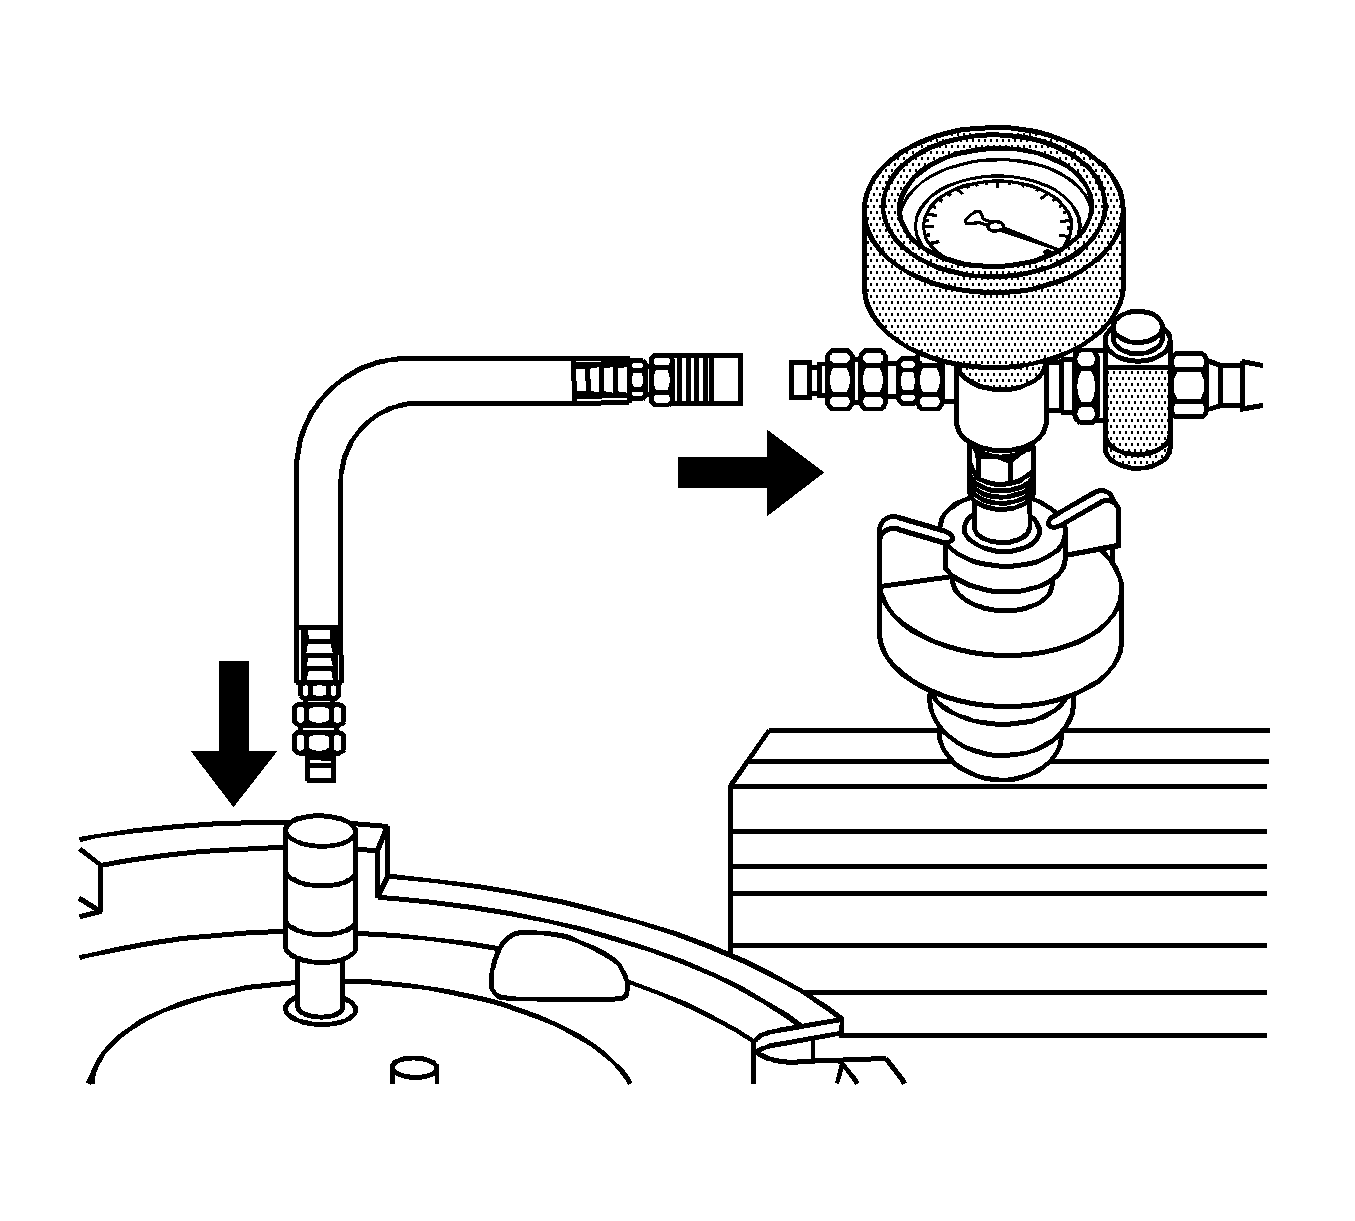
- Attach the vacuum hose to the vacuum gauge assembly with valve (GE-47716-3) and the vacuum tank (GE-47716-1).
- Open the valve on the Venturi assembly (GE-47716-6). The vacuum gauge will begin to rise and a hissing noise will be present.
- Continue to draw vacuum until the needle stops rising. This should be 610 mm to 660 mm Hg (24 to 26 in Hg).
- To aid in the fill process, position the graduated reservoir (GE-47716-2) above the coolant fill port.
- Slowly open the valve on the vacuum gauge assembly with valve (GE-47716-3). When the coolant reaches the top of the fill hose (GE-47716-5), close the valve. This will eliminate air from the fill hose (GE-47716-5).
- Close the valve on the Venturi assembly (GE-47716-6). Allow the system to stabilize under vacuum for approximately two minutes. If there is a loss of vacuum, check the cooling system for leaks.
- Open the valve on the vacuum gauge assembly with valve (GE-47716-3). The vacuum gauge will drop as coolant is drawn into the system.
- Once the gauge reaches zero, repeat Steps 10 through 15.
- Detach the Vac-N-Fill cap (GE-47716-8) from the vehicle's coolant fill port. Remove the cap adapters as required.
- Add coolant to the system as necessary. After filling the cooling system, the extraction hose (GE-47716-11) can be used to remove the excess coolant in order to achieve the proper coolant level.
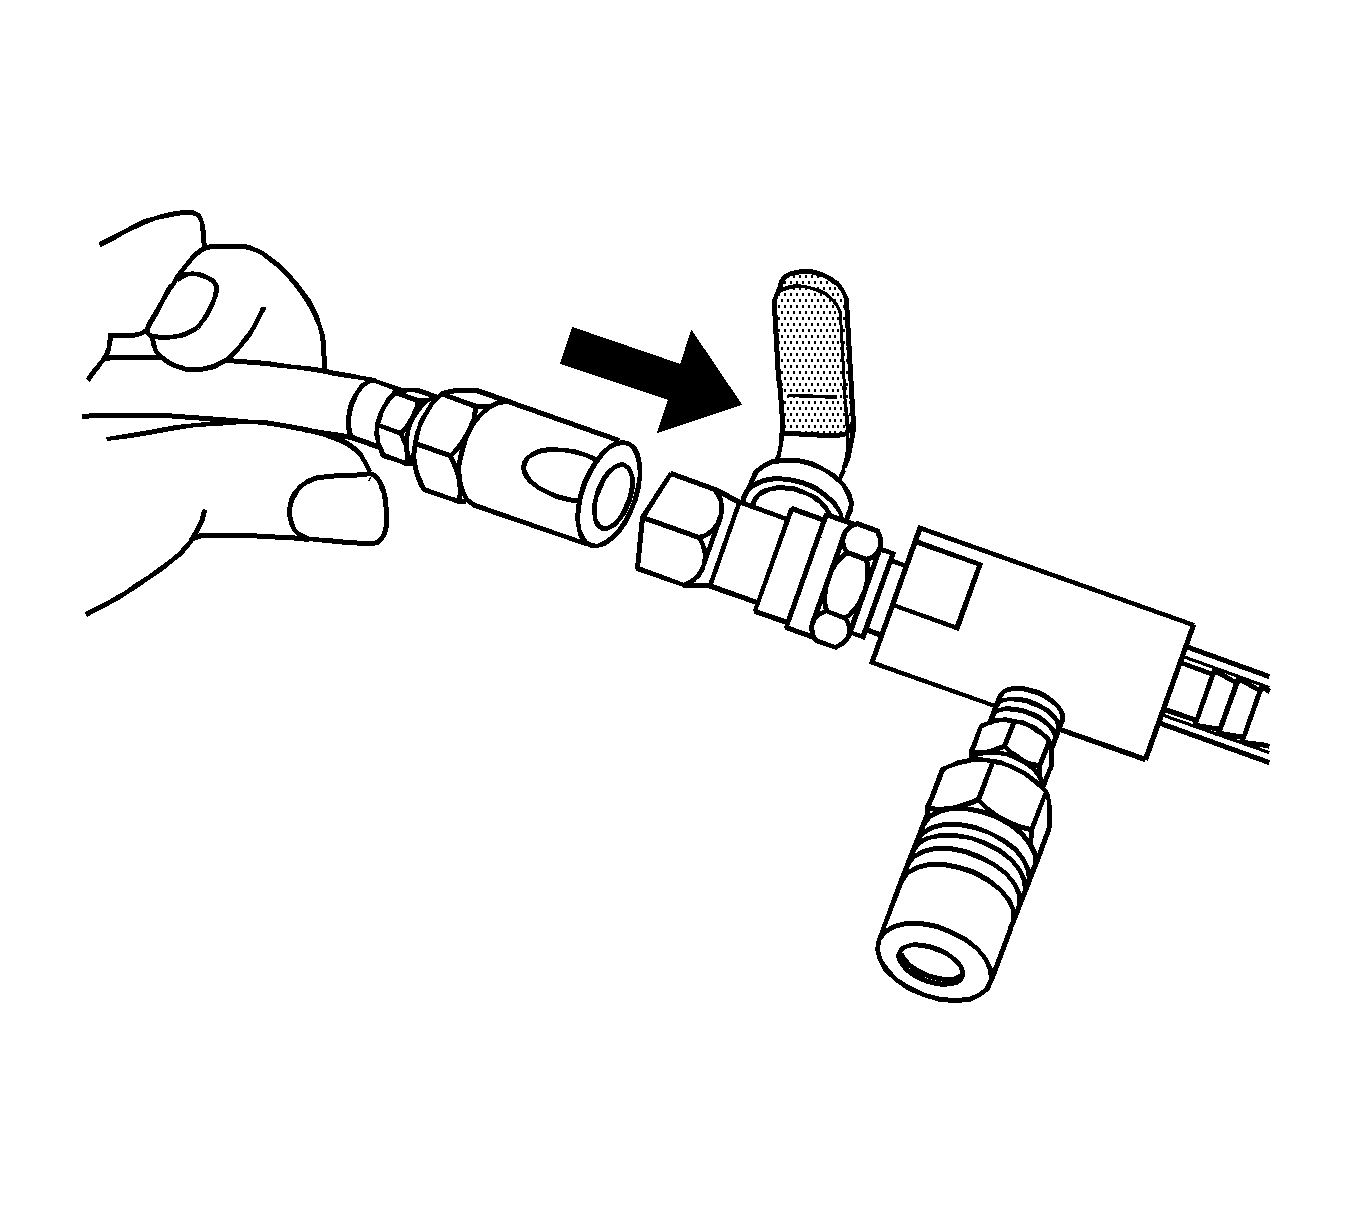
- Detach the vacuum hose (GE-47716-7) from the vacuum gauge assembly with valve (GE-47716-3).
- Attach the extraction hose (GE-47716-11) to the vacuum hose (GE-47716-7).
- Open the valve on the Venturi assembly (GE-47716-6) to start a vacuum draw.
- Use the extraction hose (GE-47716-11) to draw out coolant to the proper level.
- The vacuum tank (GE-47716-1) has a lever operated valve on the bottom. Open the valve to drain coolant from the vacuum tank (GE-47716-1) into a suitable container for disposal.
Important: Always use more coolant than necessary. This will eliminate air from being drawn into the cooling system.
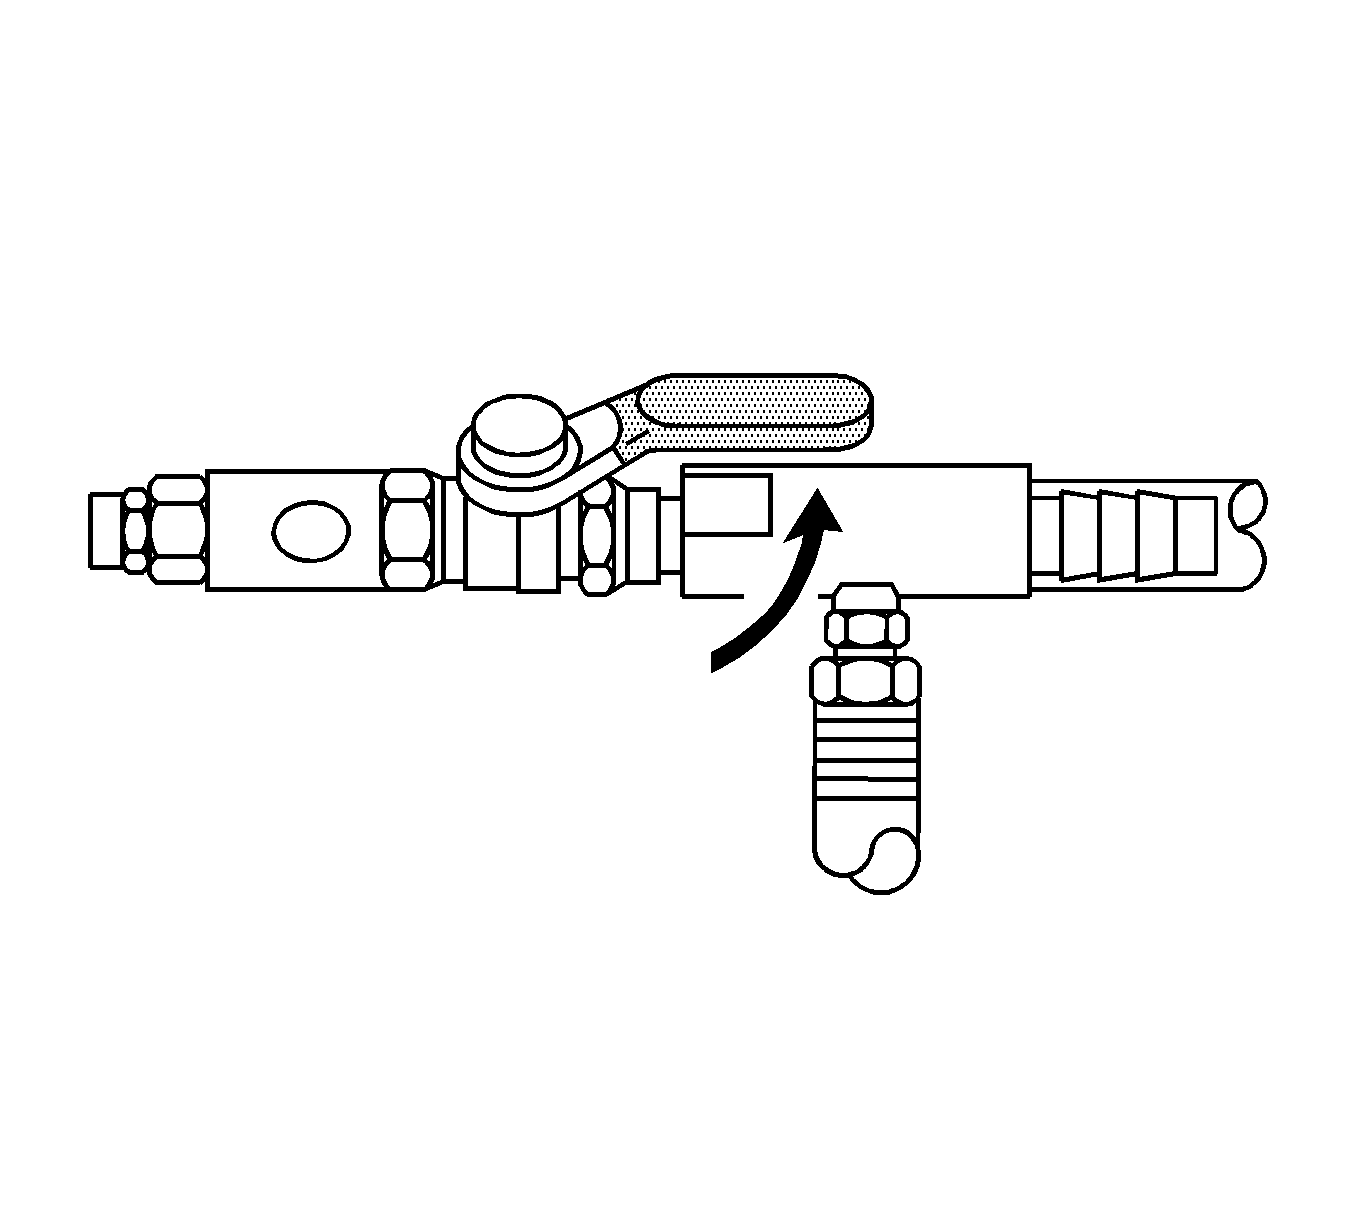
Important: Some overflow hoses may need to be clamped off to obtain proper vacuum level.
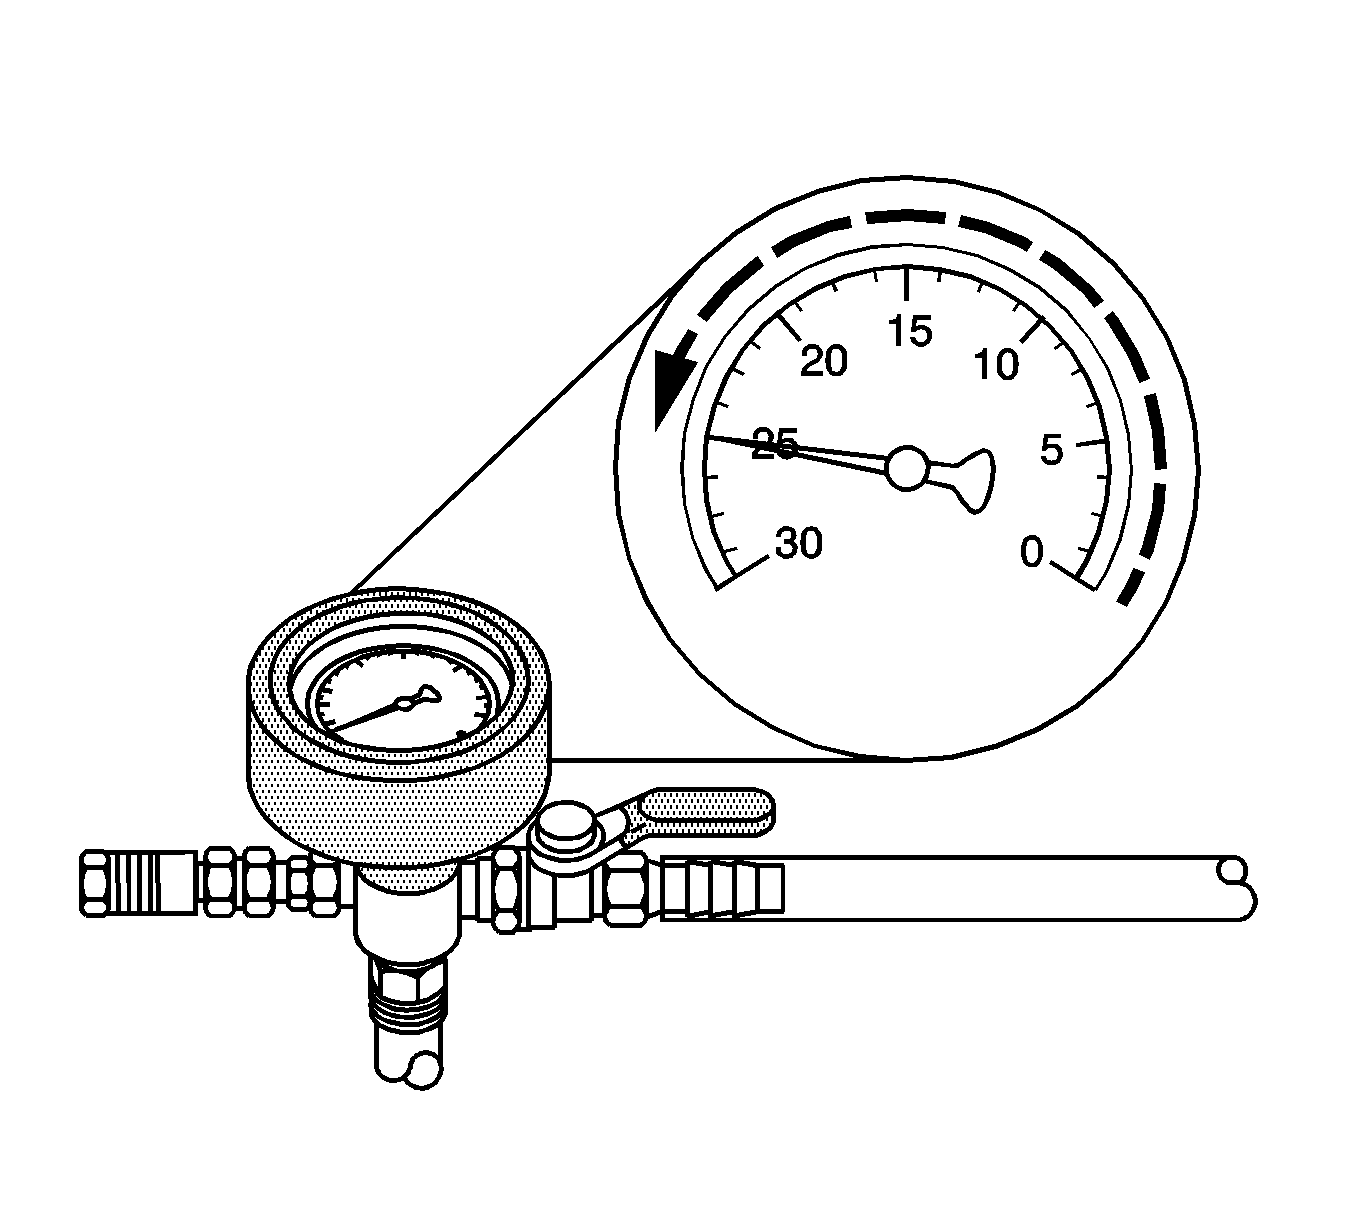
Important: The cooling hoses may start to collapse. This is normal due to vacuum draw.
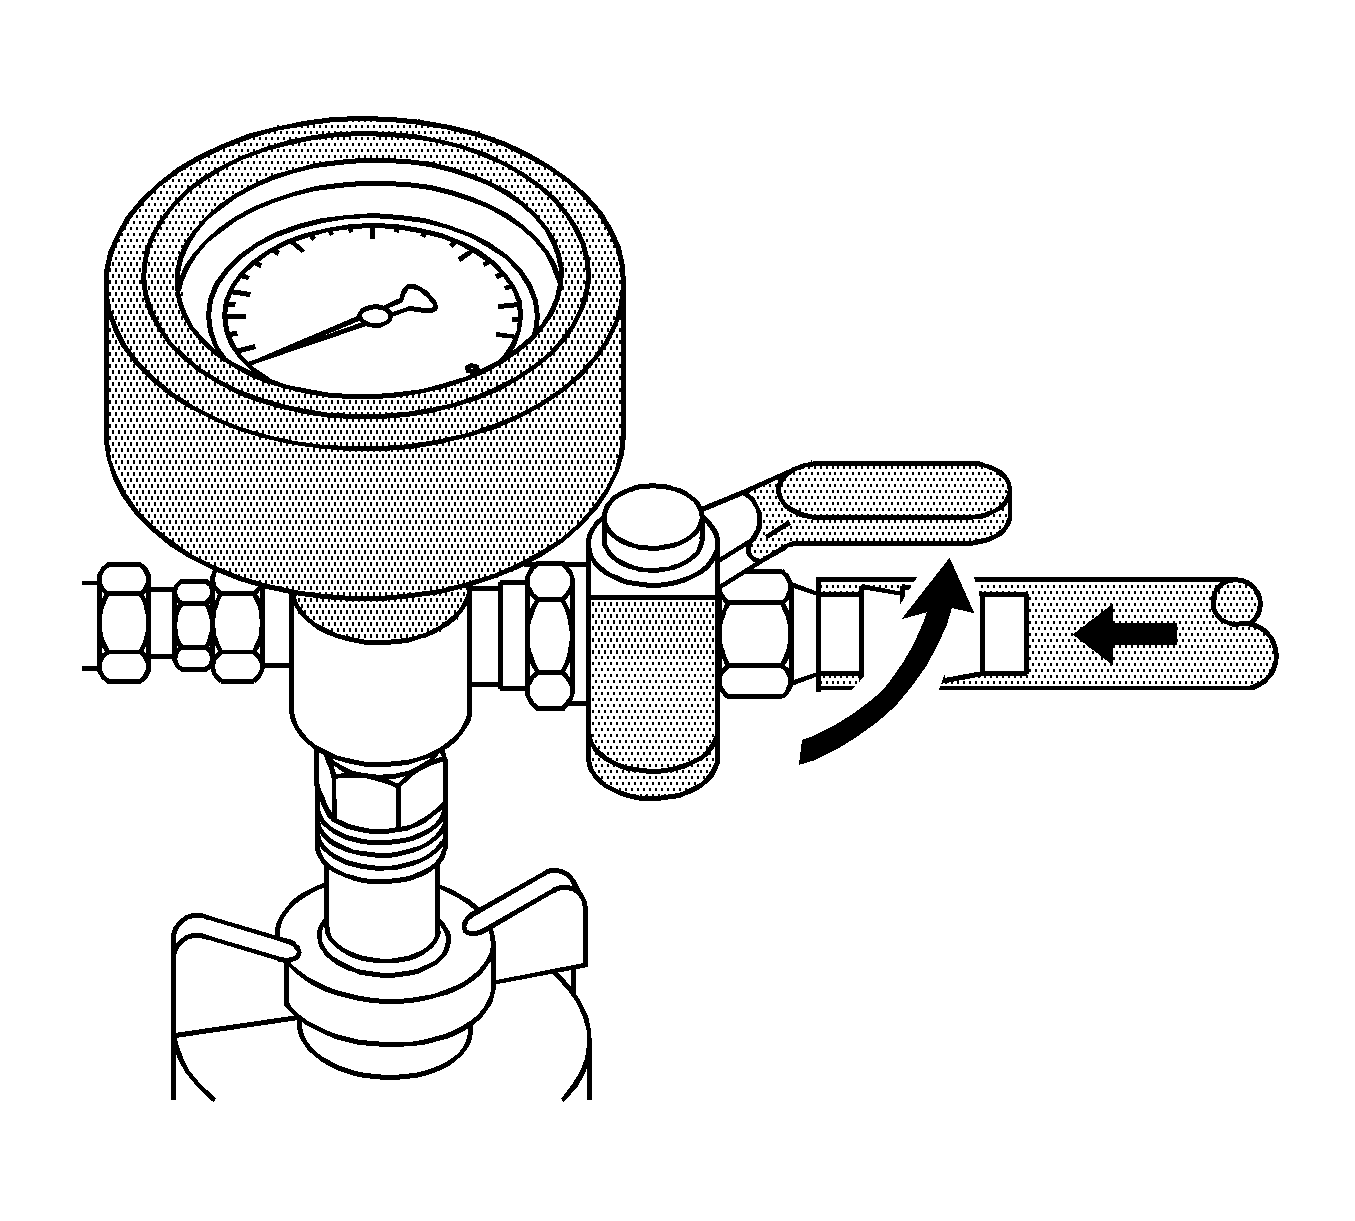
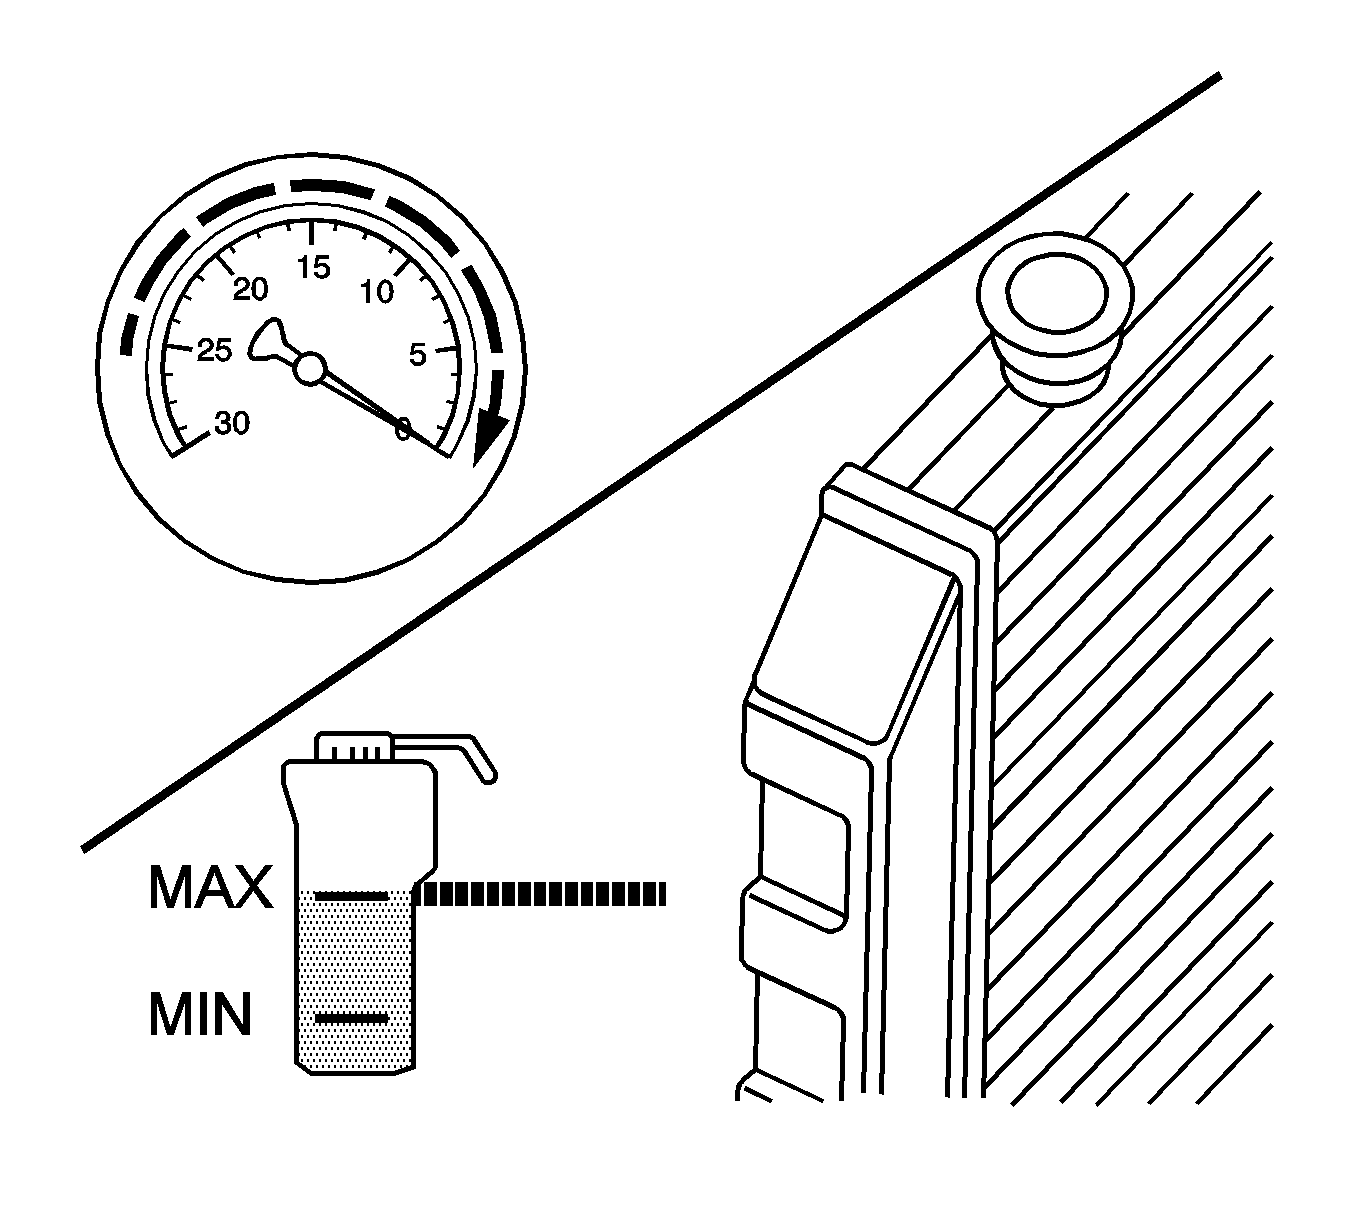
Important: Most vehicles will only require the process to be repeated twice.
Components Included in Tool Kit
GE-47716-1 Vacuum Tank
GE-47716-2 Graduated Reservoir
GE-47716-3 Vacuum Gauge Assembly with Valve / GE-47716-4 Vacuum Gauge Only
GE-47716-5 Fill Hose
GE-47716-6 Venturi Assembly
GE-47716-7 Vacuum Hose
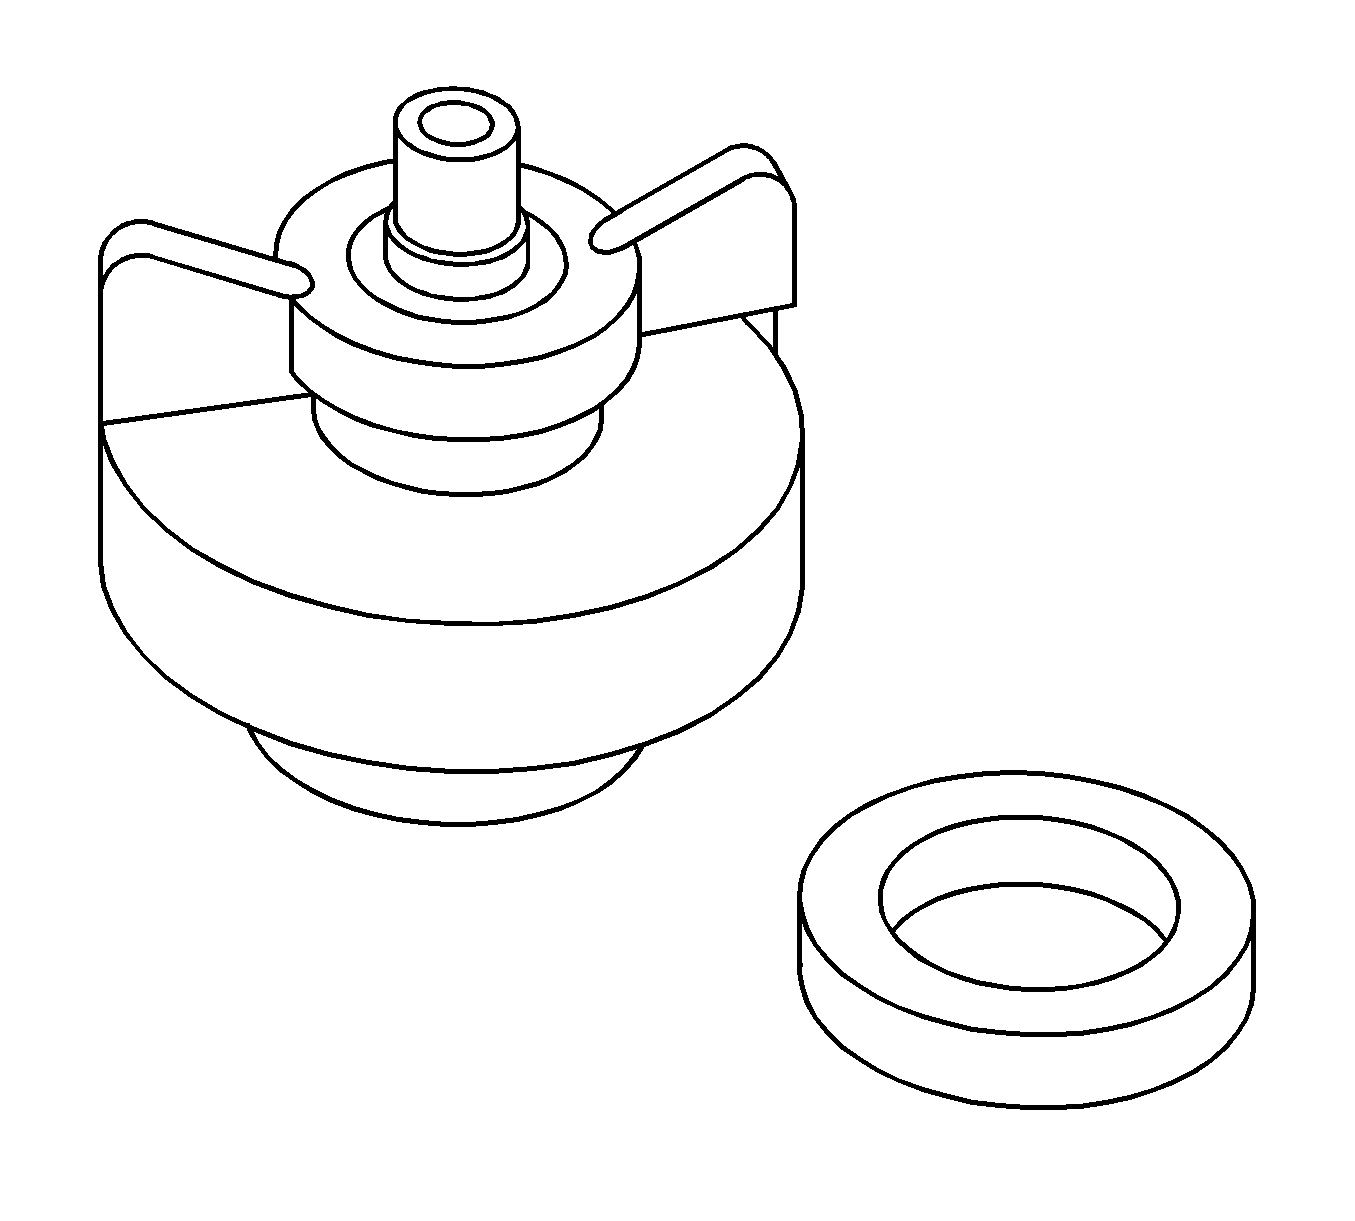
GE-47716-8 Vac-N-Fill Cap with Spacer/GE-47716-9 Spacer Only
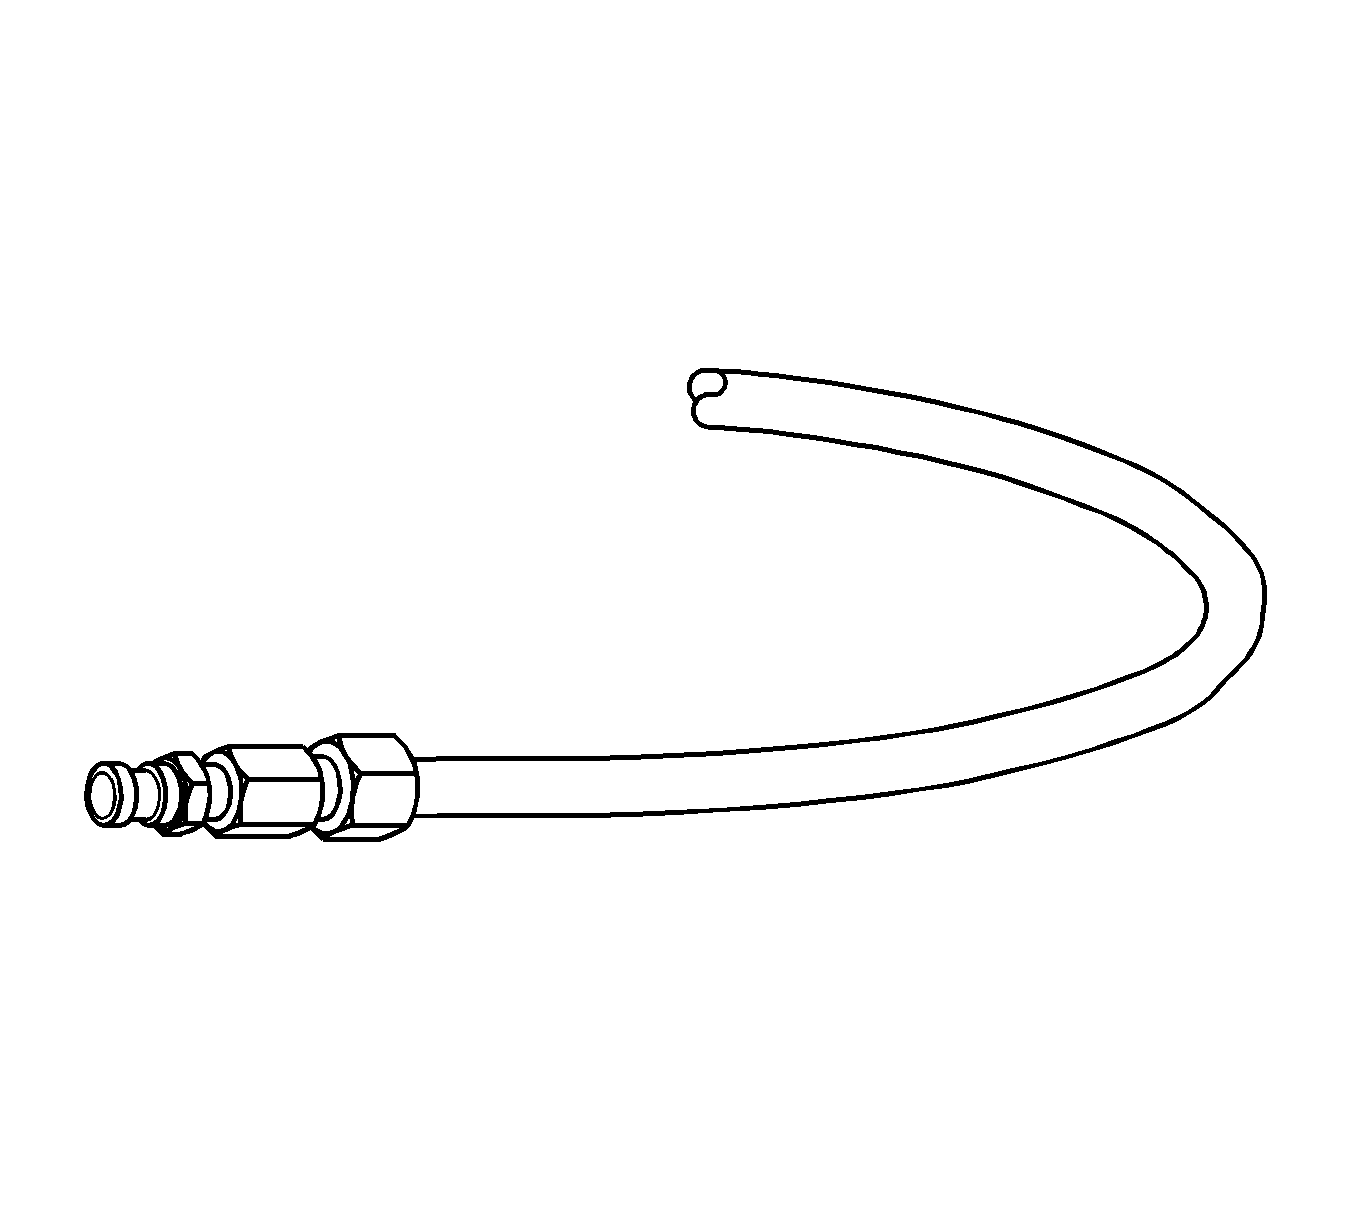
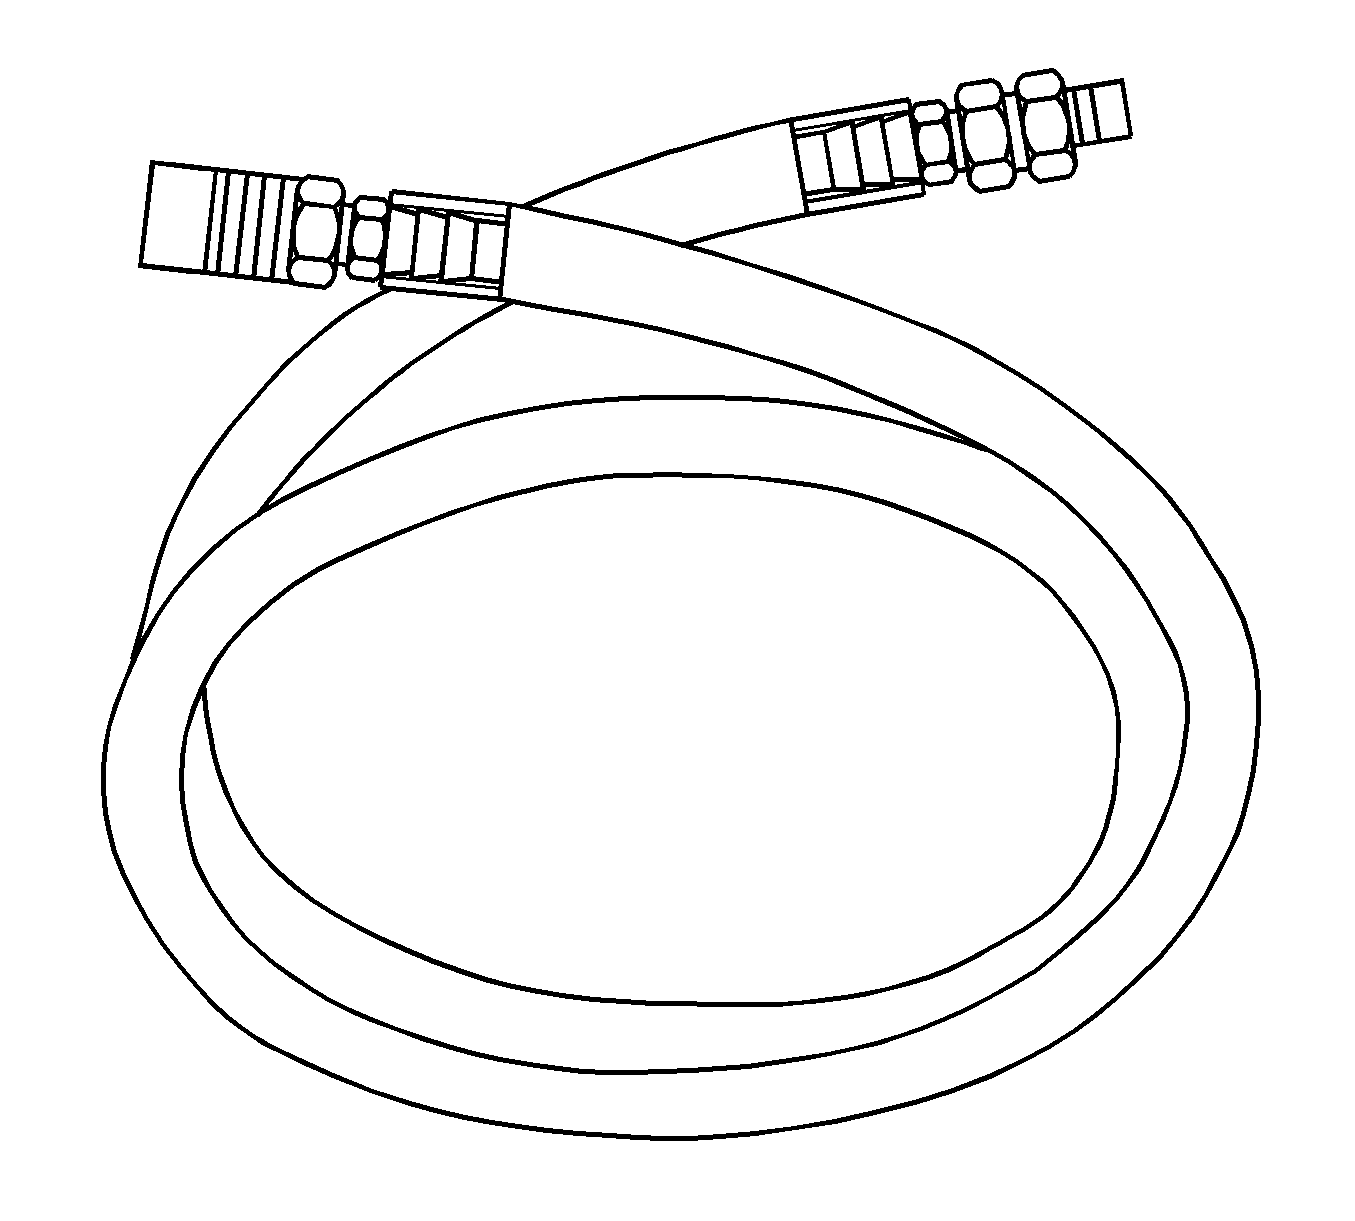
GE-47716-10 Extension Hose
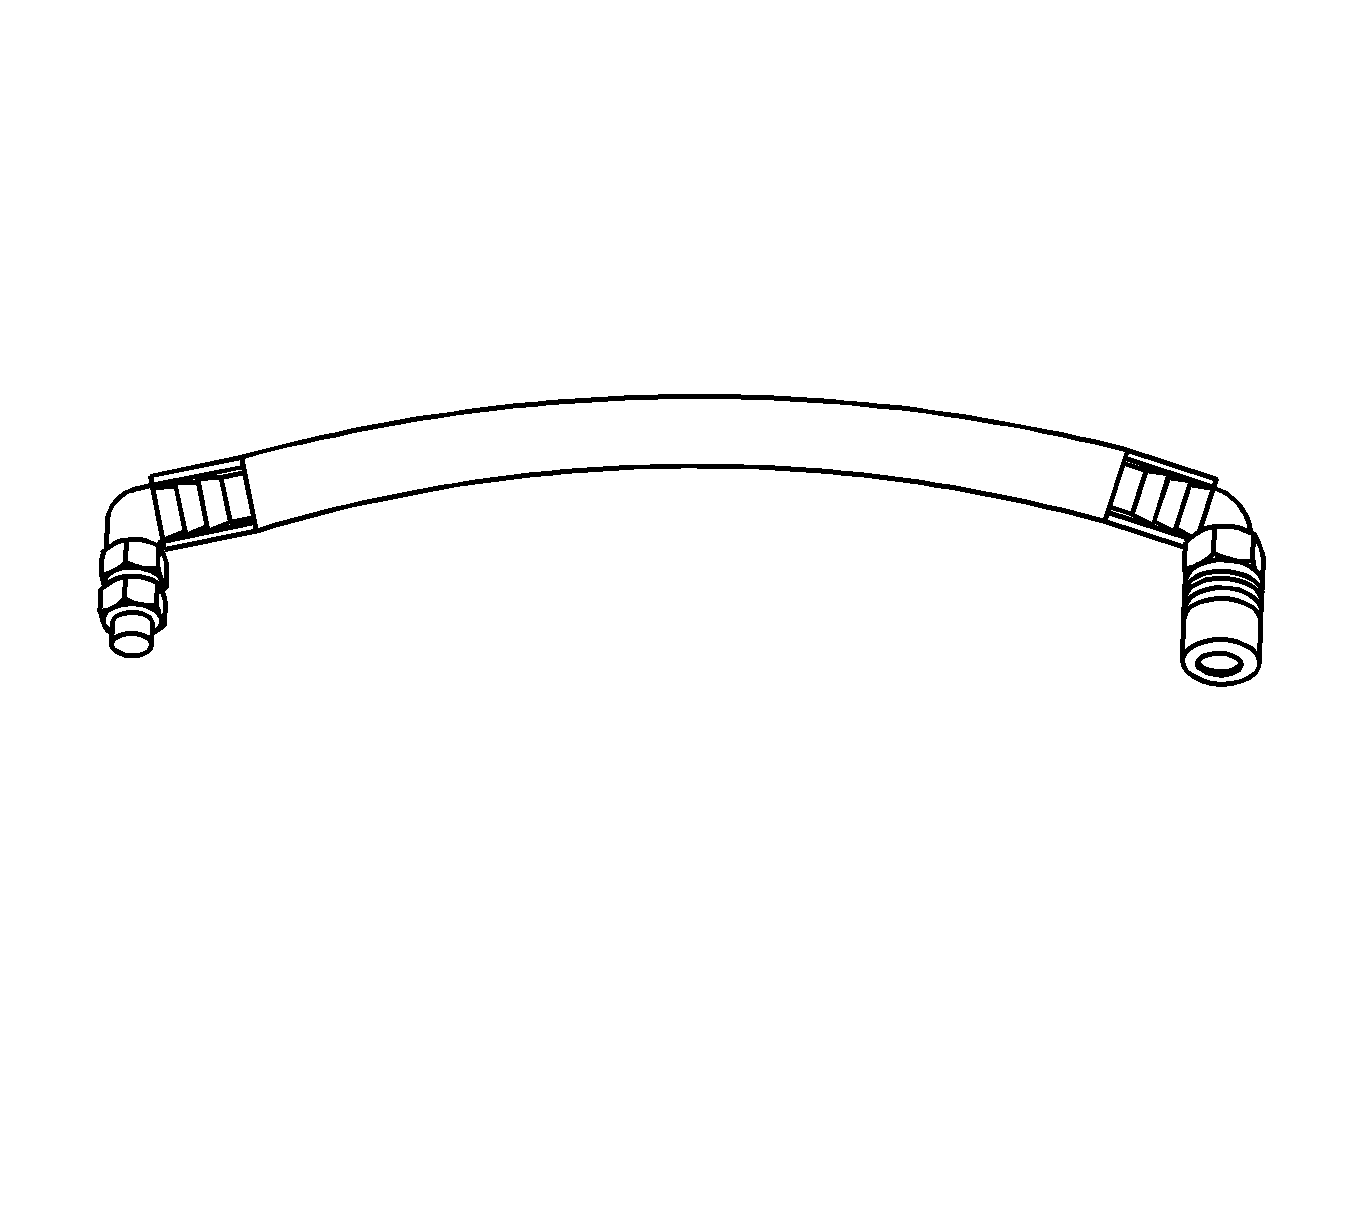
GE-47716-11 Extraction Hose
